Getting Started with AWS: Account Setup

Cloud computing is becoming an in-demand skill for technology professionals as companies look to migrate to the cloud. Depending on the organization structure, most developers would not be involved in the account setup phase. However, it is still important to know and understand the basics of account creation. This will help you understand why and contribute if the conversation of best practices comes your way.
Creating a new account
AWS allows one account per email address. Organizations generally have multiple accounts for various security purposes. If you would like to mimic this behavior, you can create multiple AWS accounts with one Gmail account. Gmail allows users to create email address variations by appending a plus sign (+) at the end of the address (i.e. [youremail]+[variation]@gmail.com). This method could be used to create multiple AWS accounts.
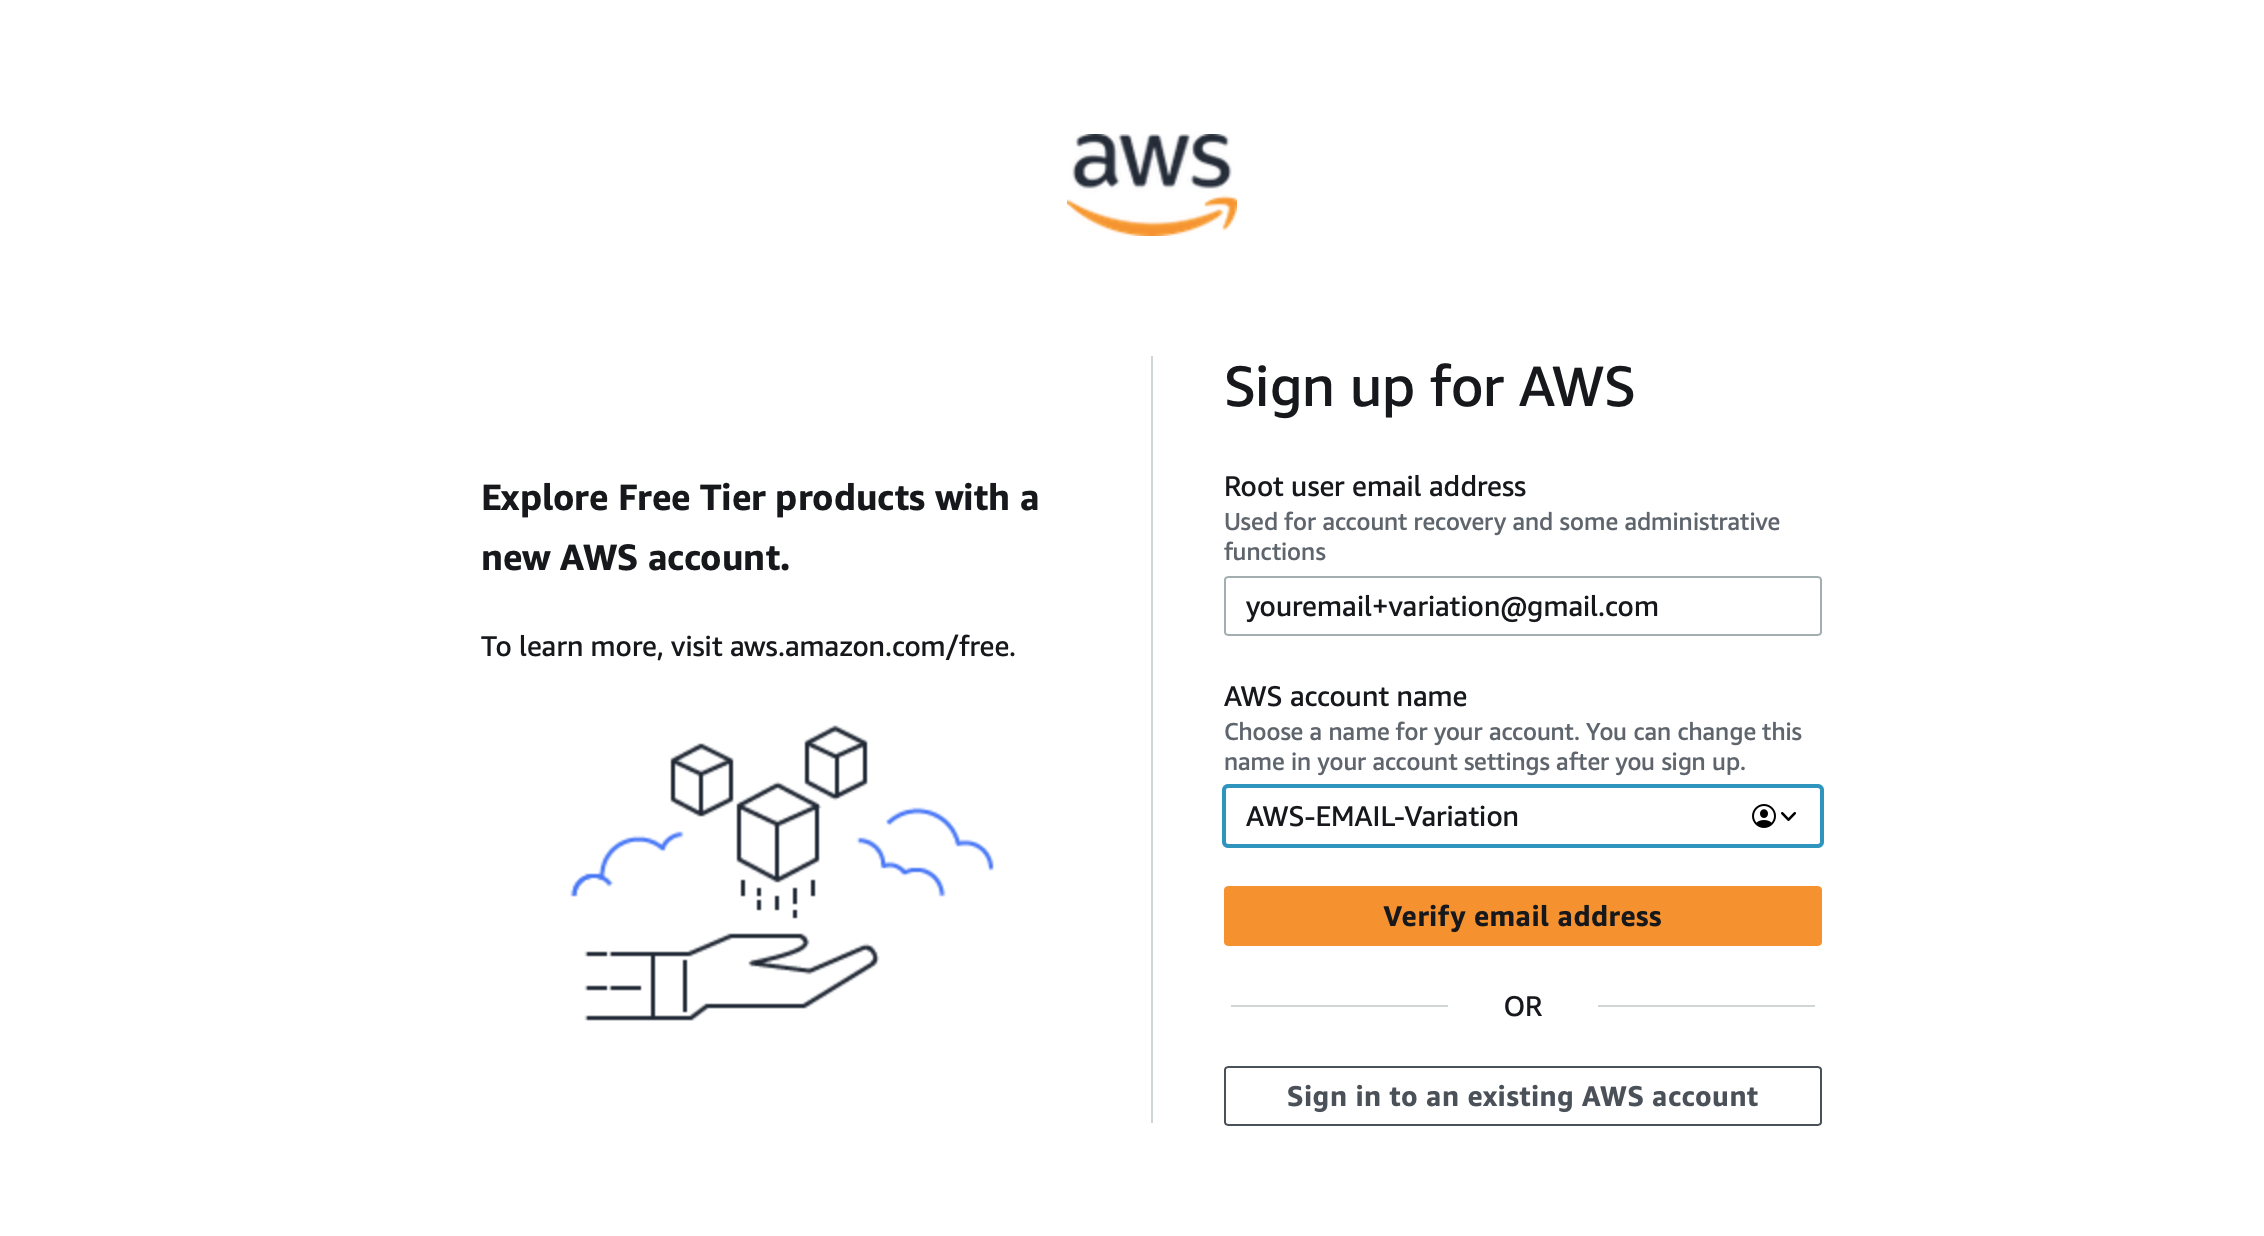
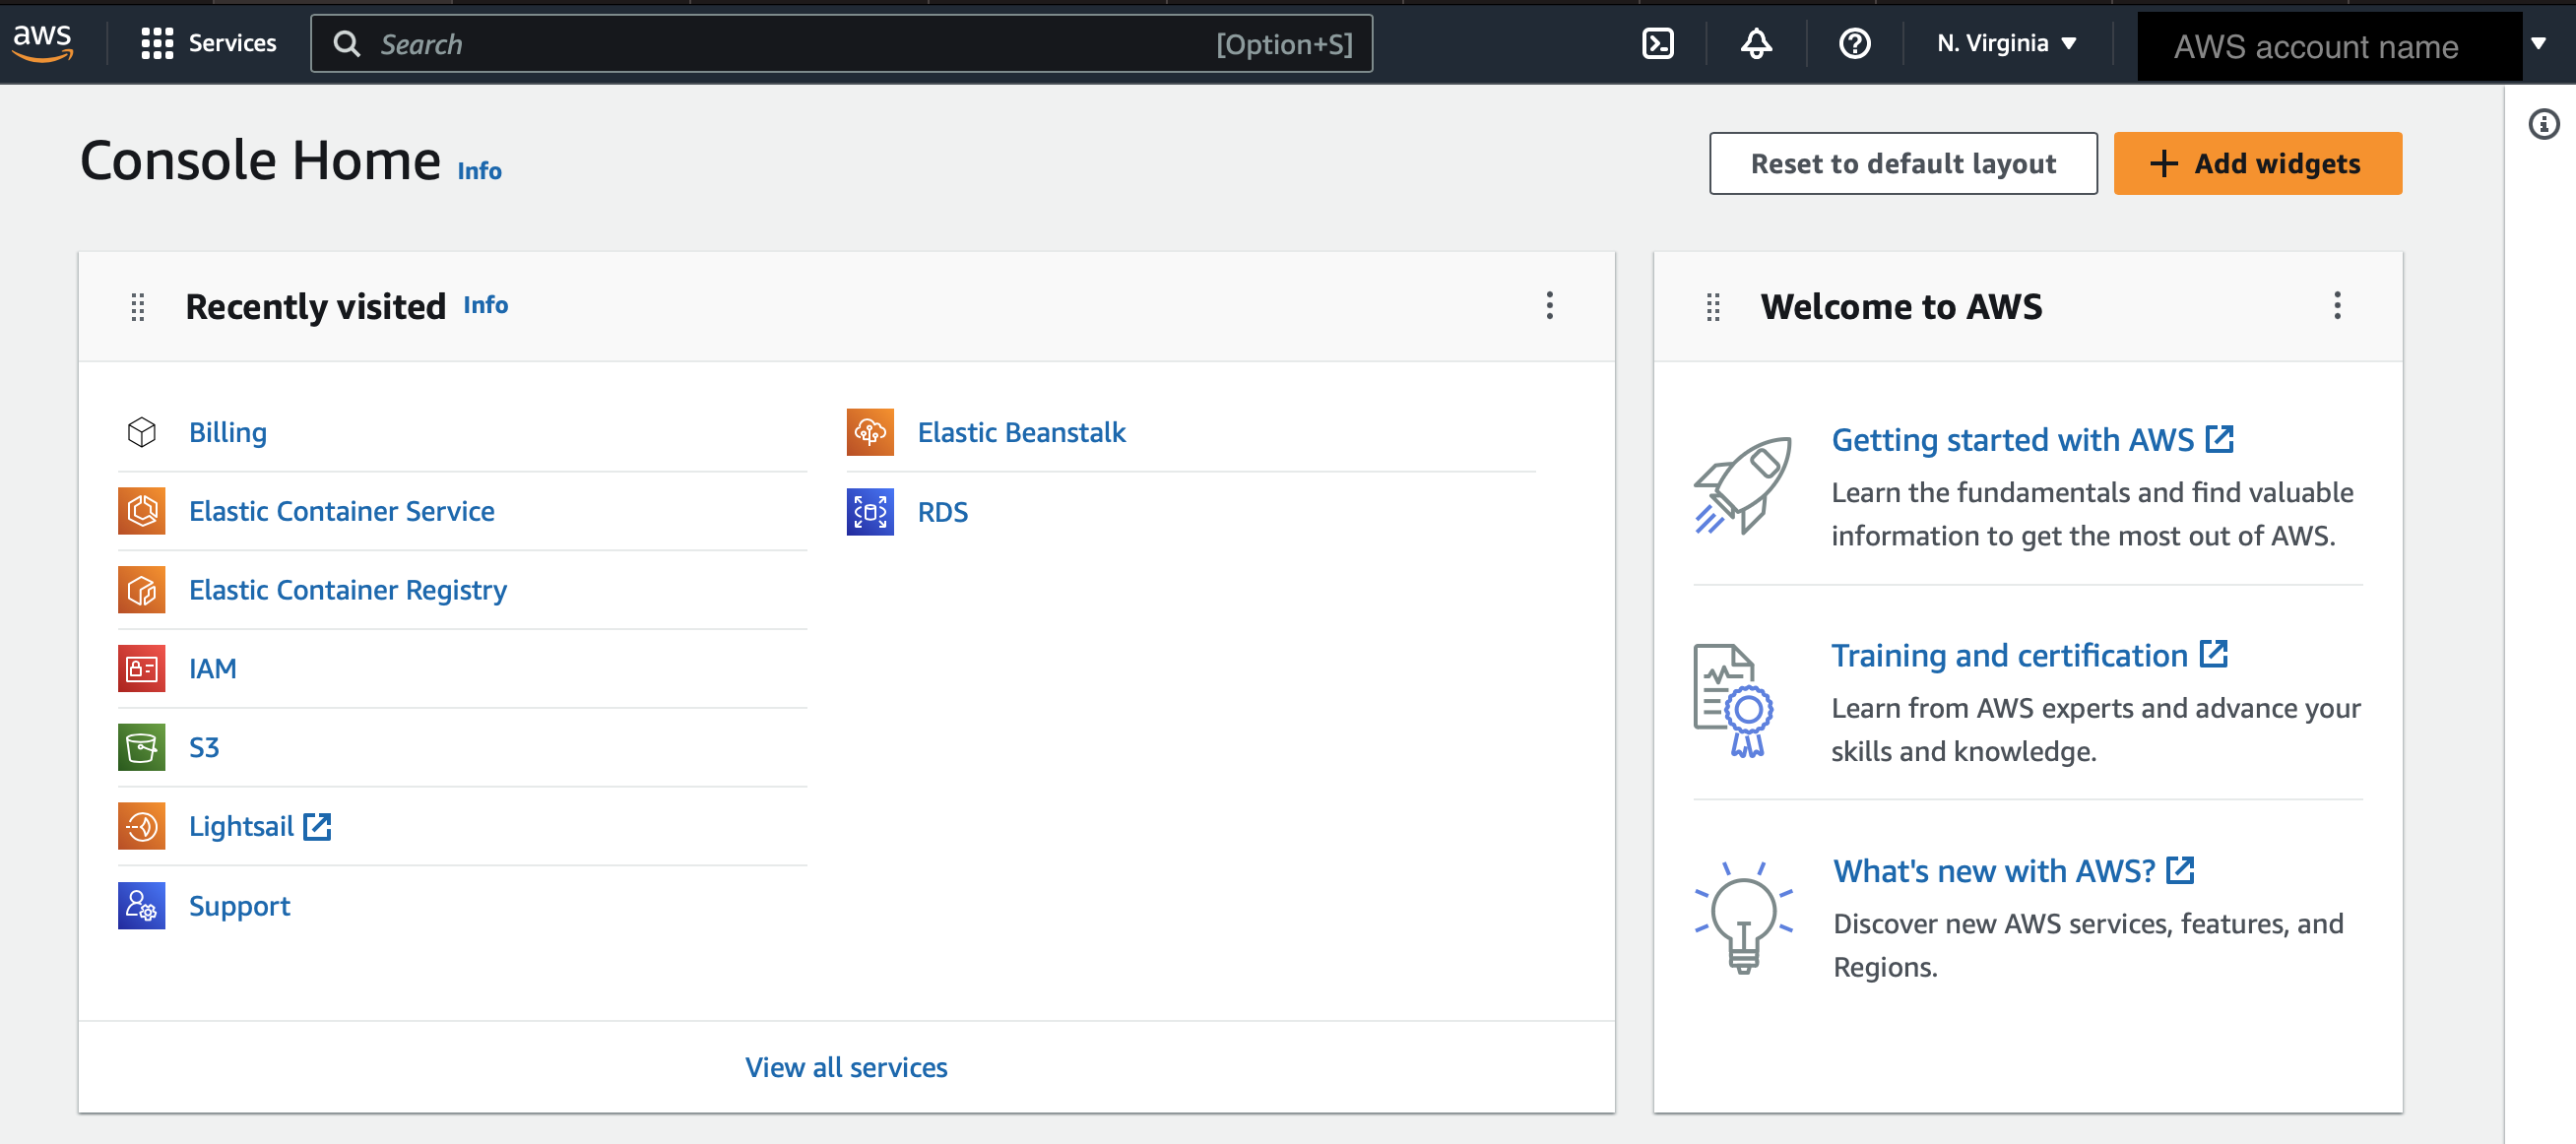
Steps for account creation are detailed here. After the steps are complete, it should bring you to the AWS console home.
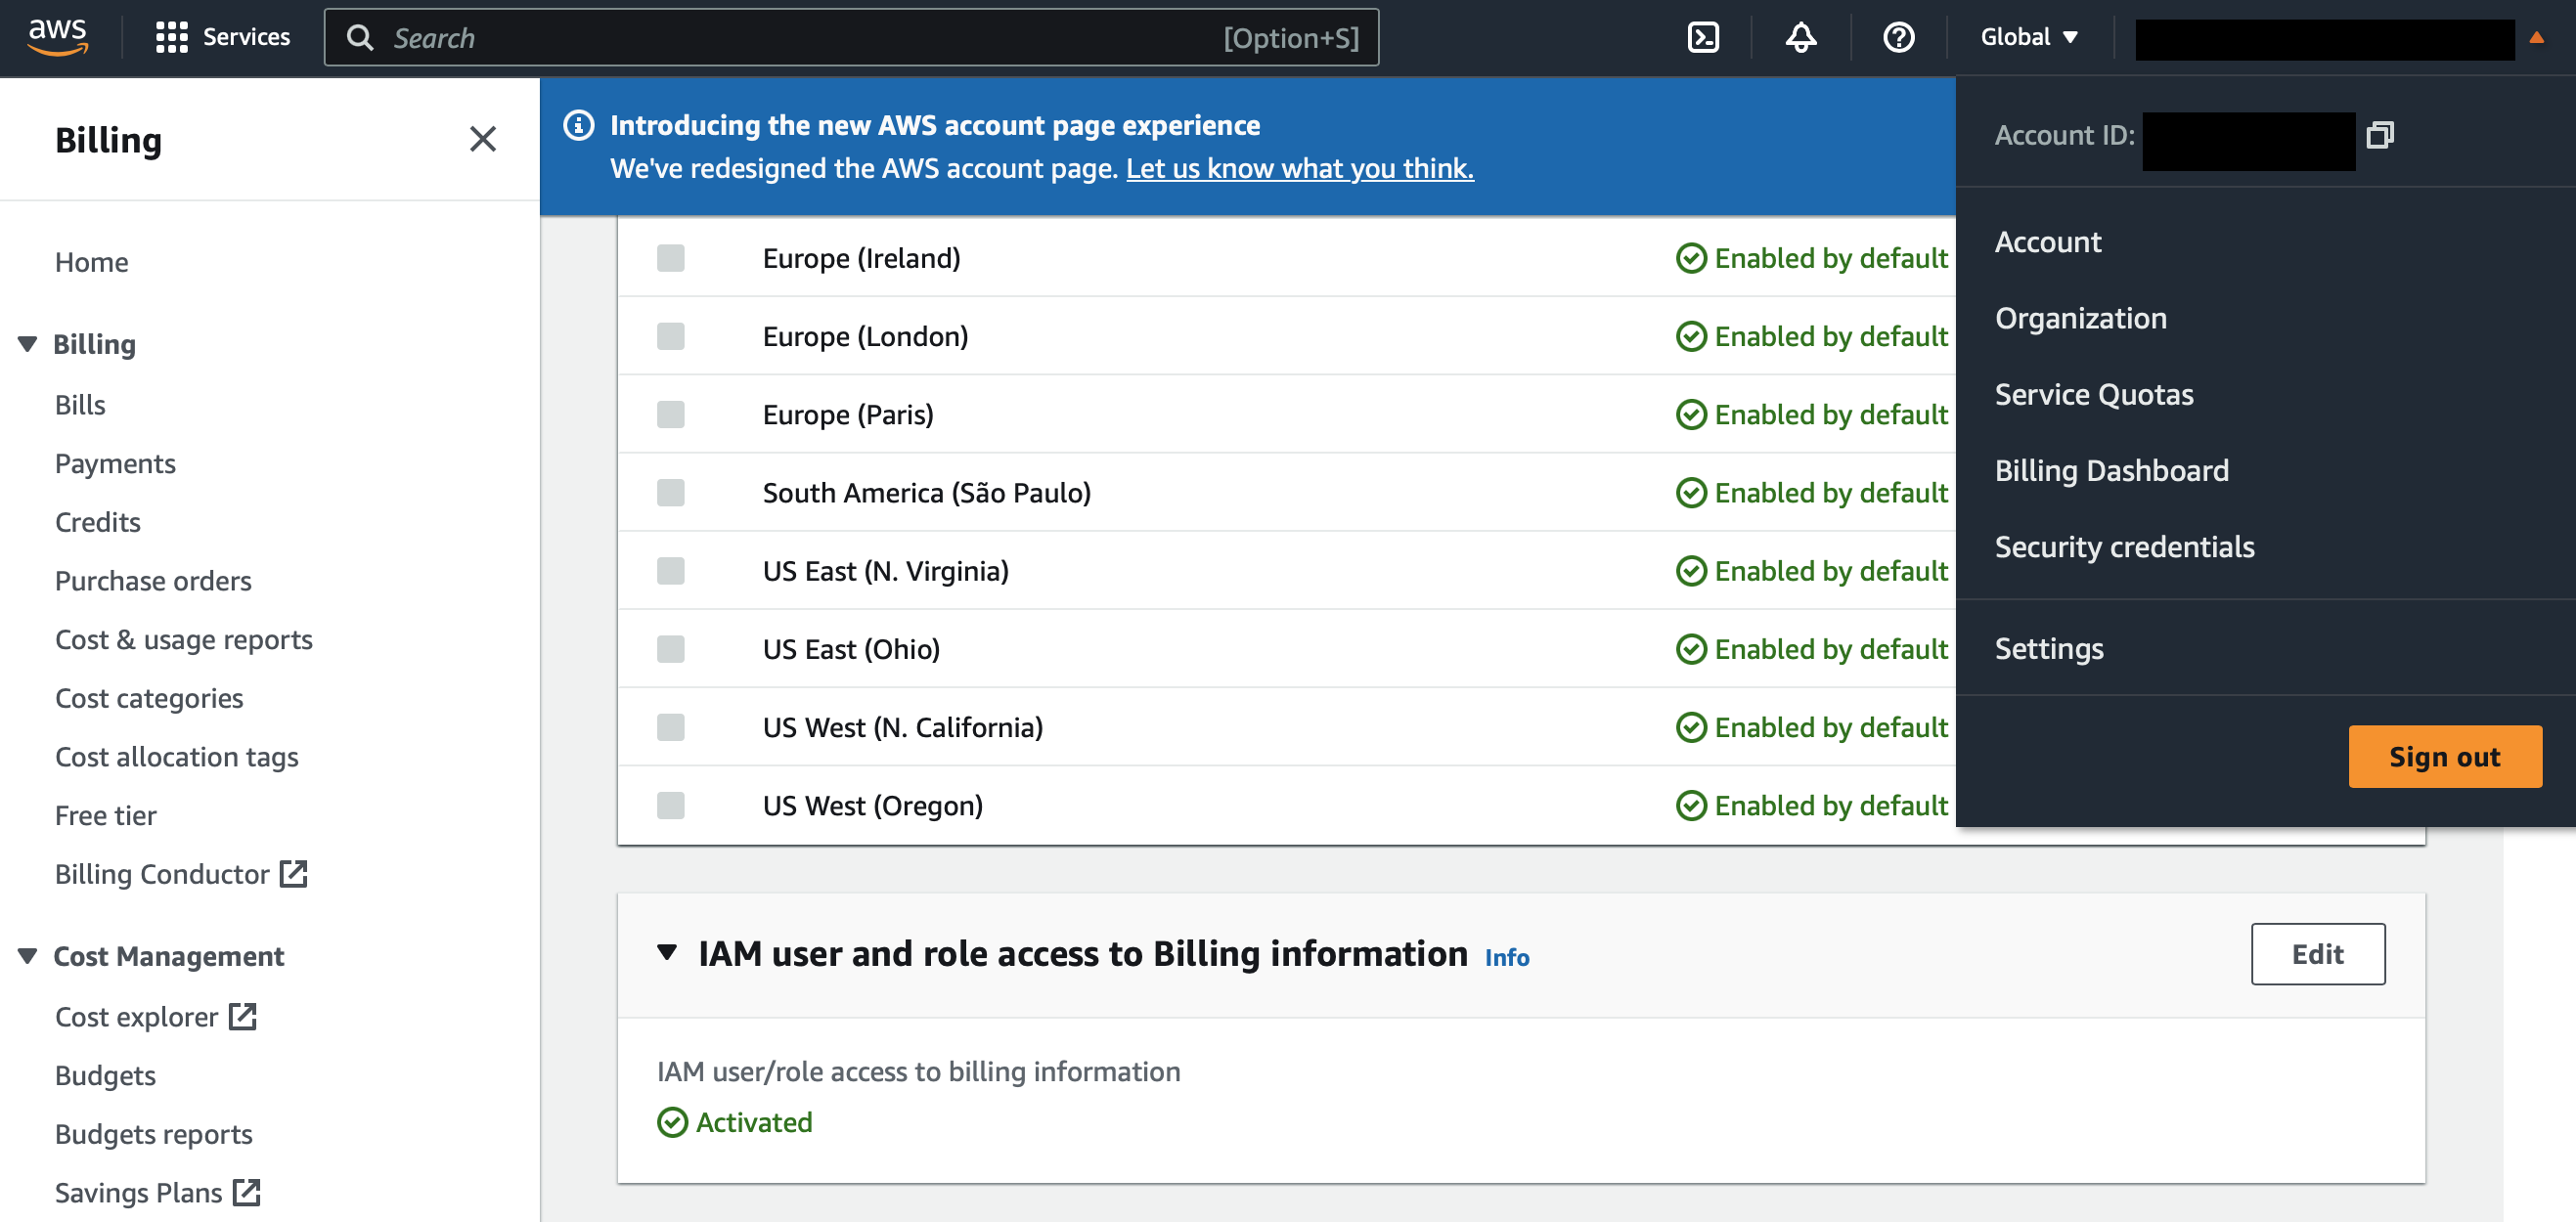
When new AWS accounts are created, a root user is created. The root users' permissions can not be revoked. Best practices suggest we create a new admin user in IAM. By default, IAM users do not have access to the Billing dashboard. To enable, navigate to Account and scroll down until you see "IAM user and role access to Billing information", click edit, check "Activate IAM Access", and click update.
Assign MFA Device
Although we are not going to be using the root user on a day-to-day basis, an extra layer of security should be added to protect the account. The next layer of authentication will be MFA.
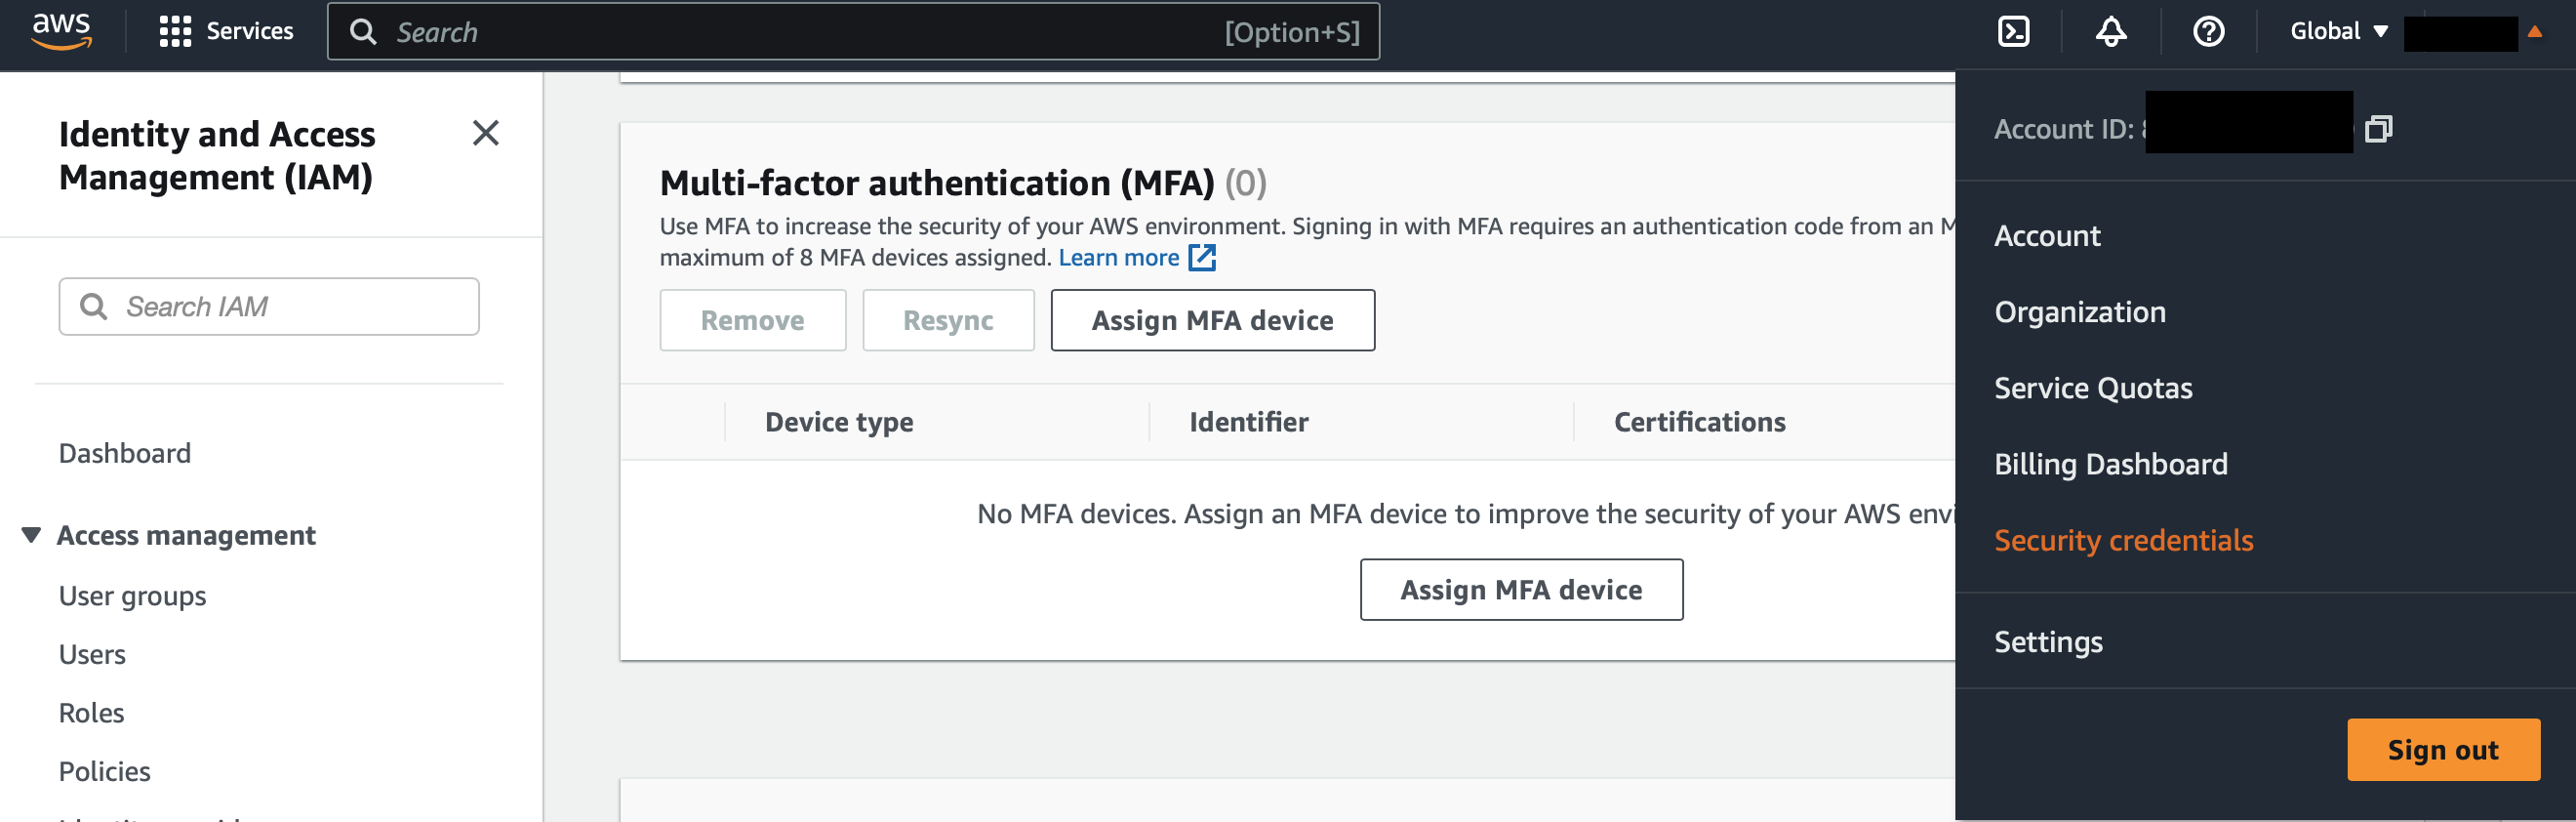
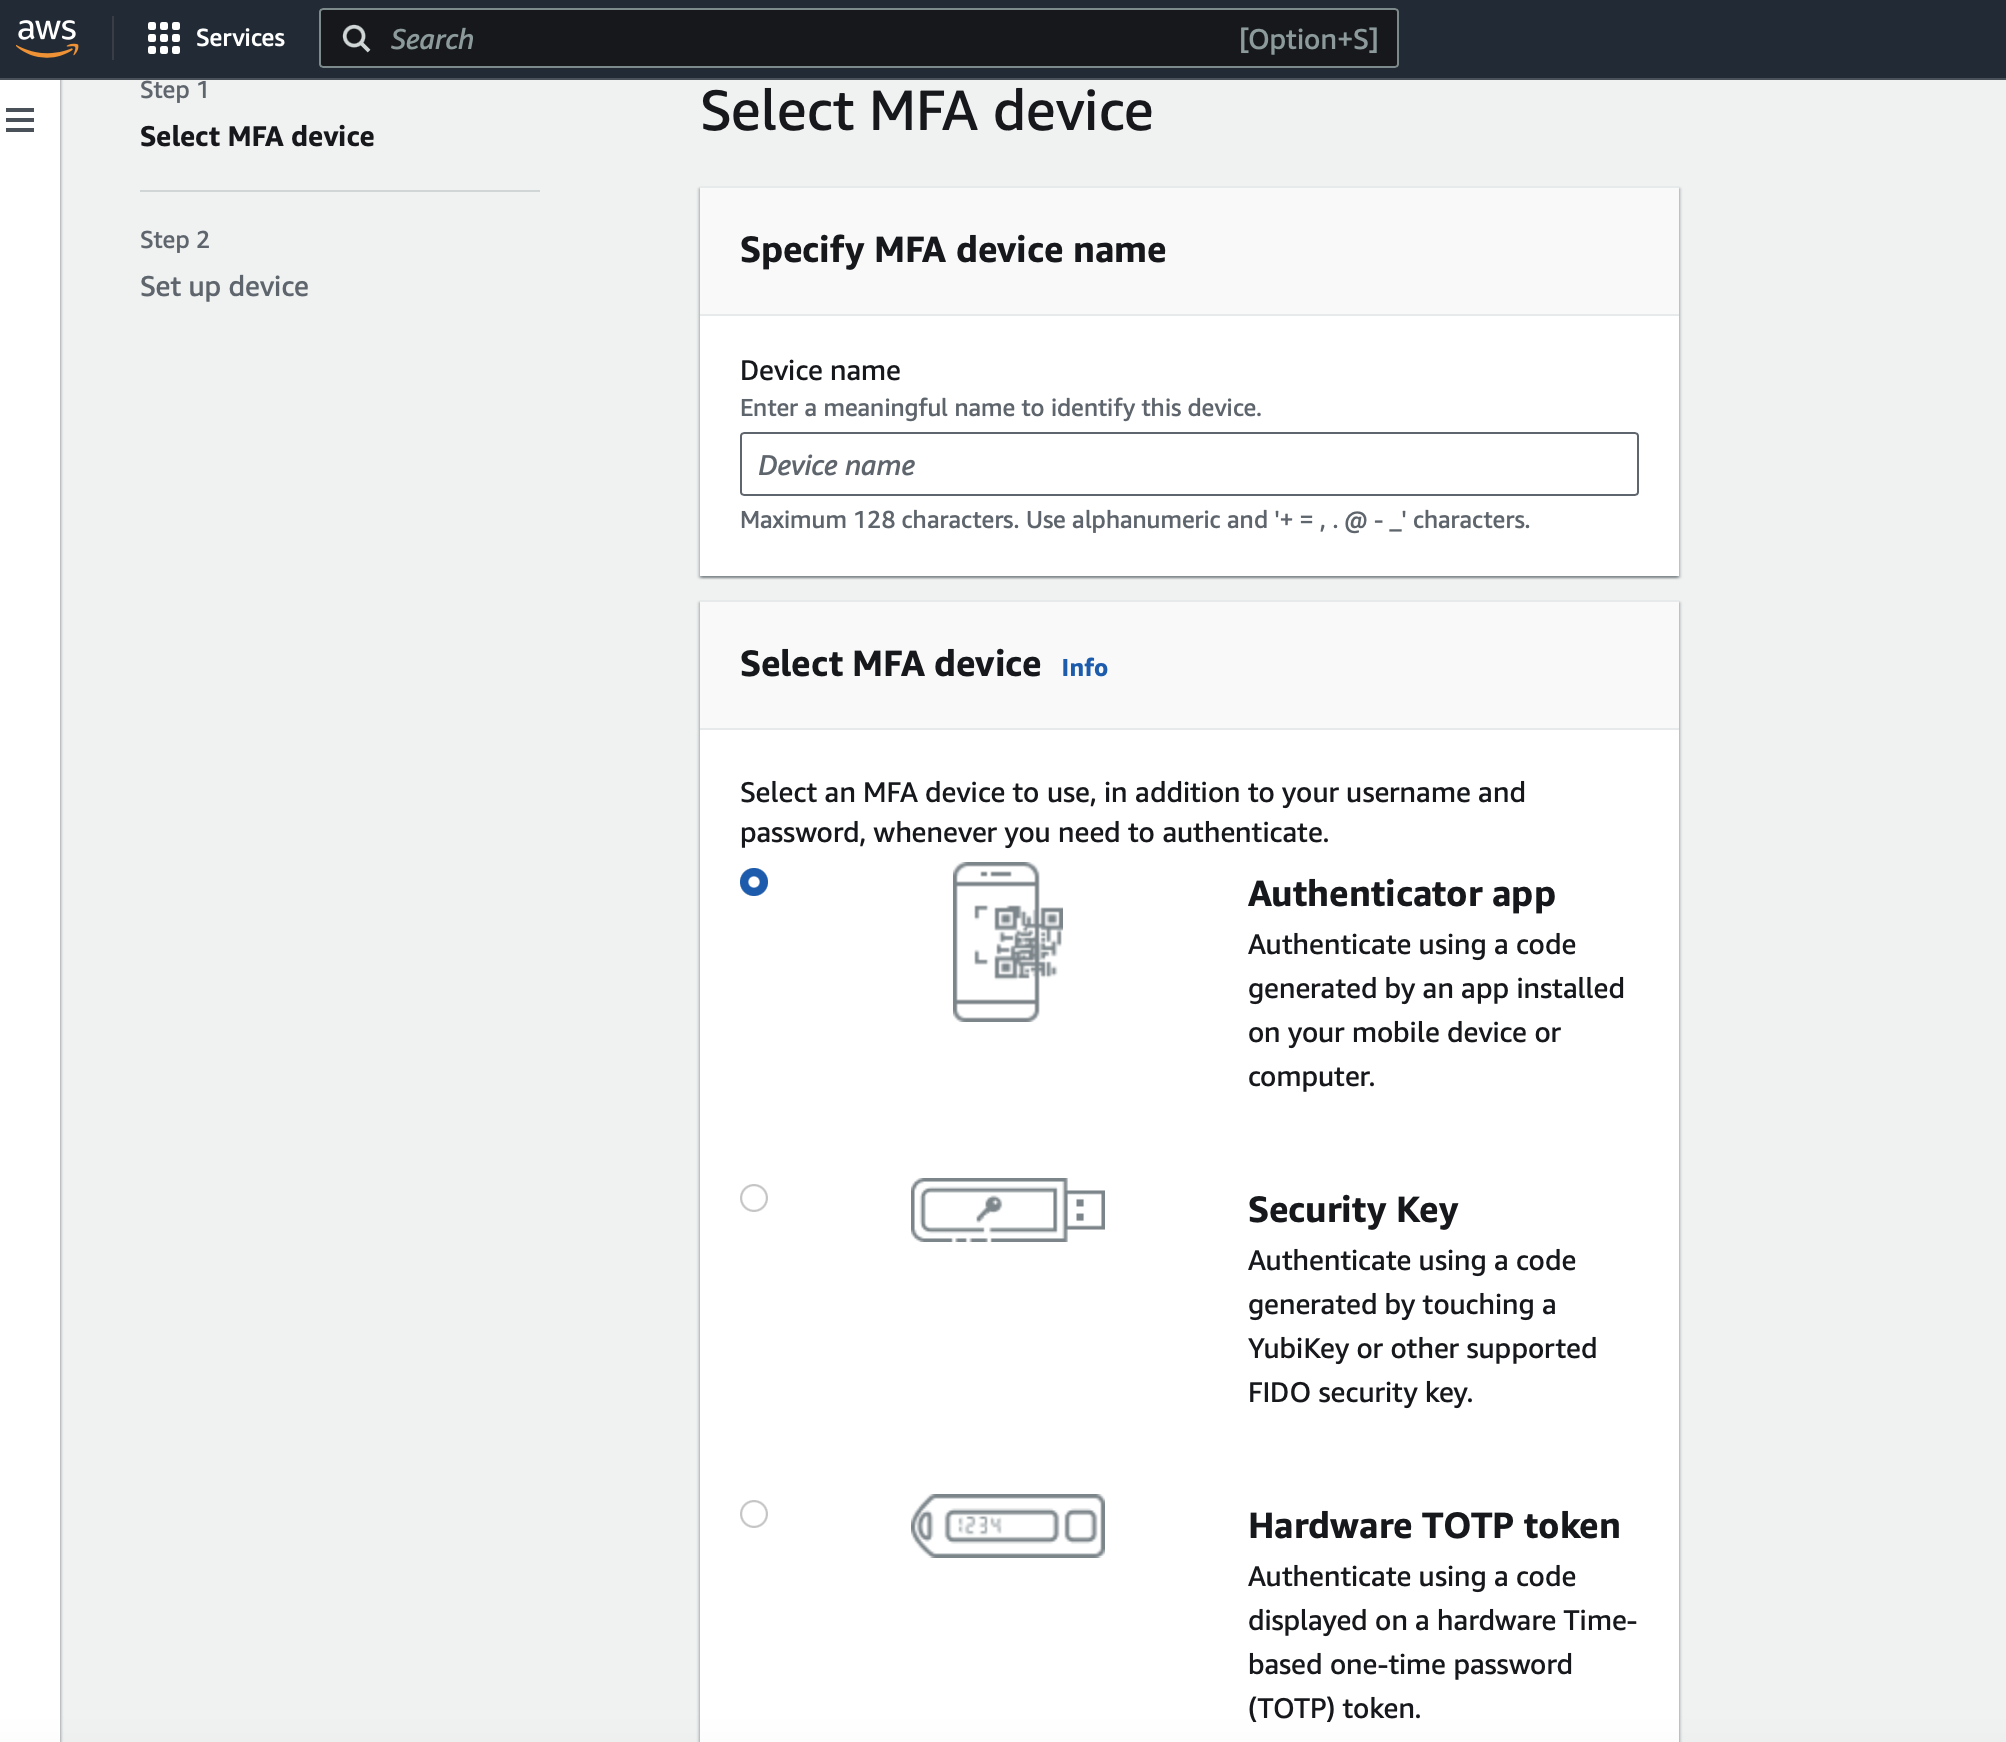
There are three devices that can be used for MFA: auth, security key, and hardware token. For this example, we will use the authenticator app.
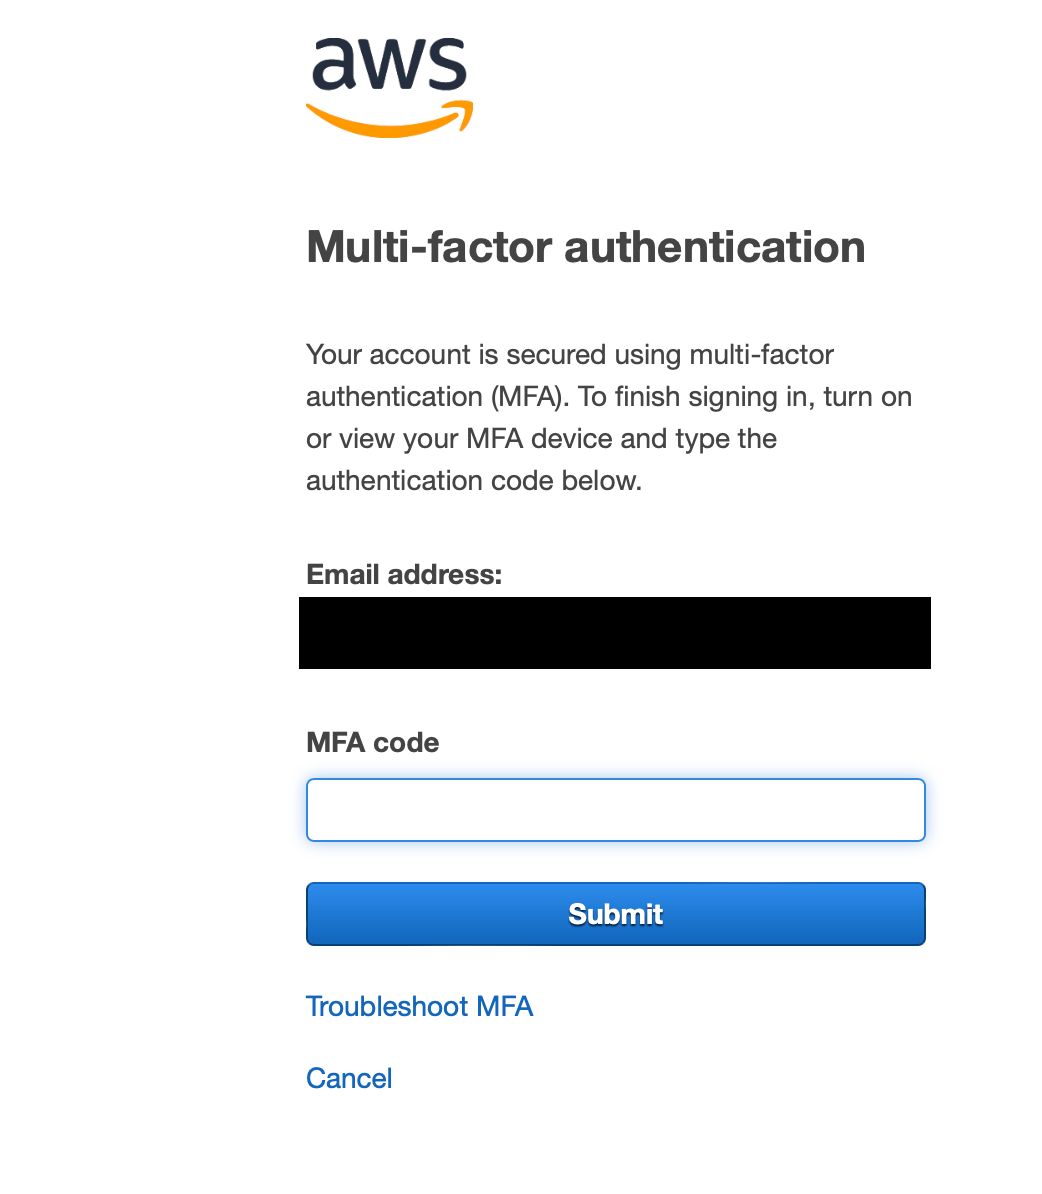
Sign out and confirm MFA is enabled. If it is successful you should see a prompt after the user and password are provided.
Create an IAM Admin user
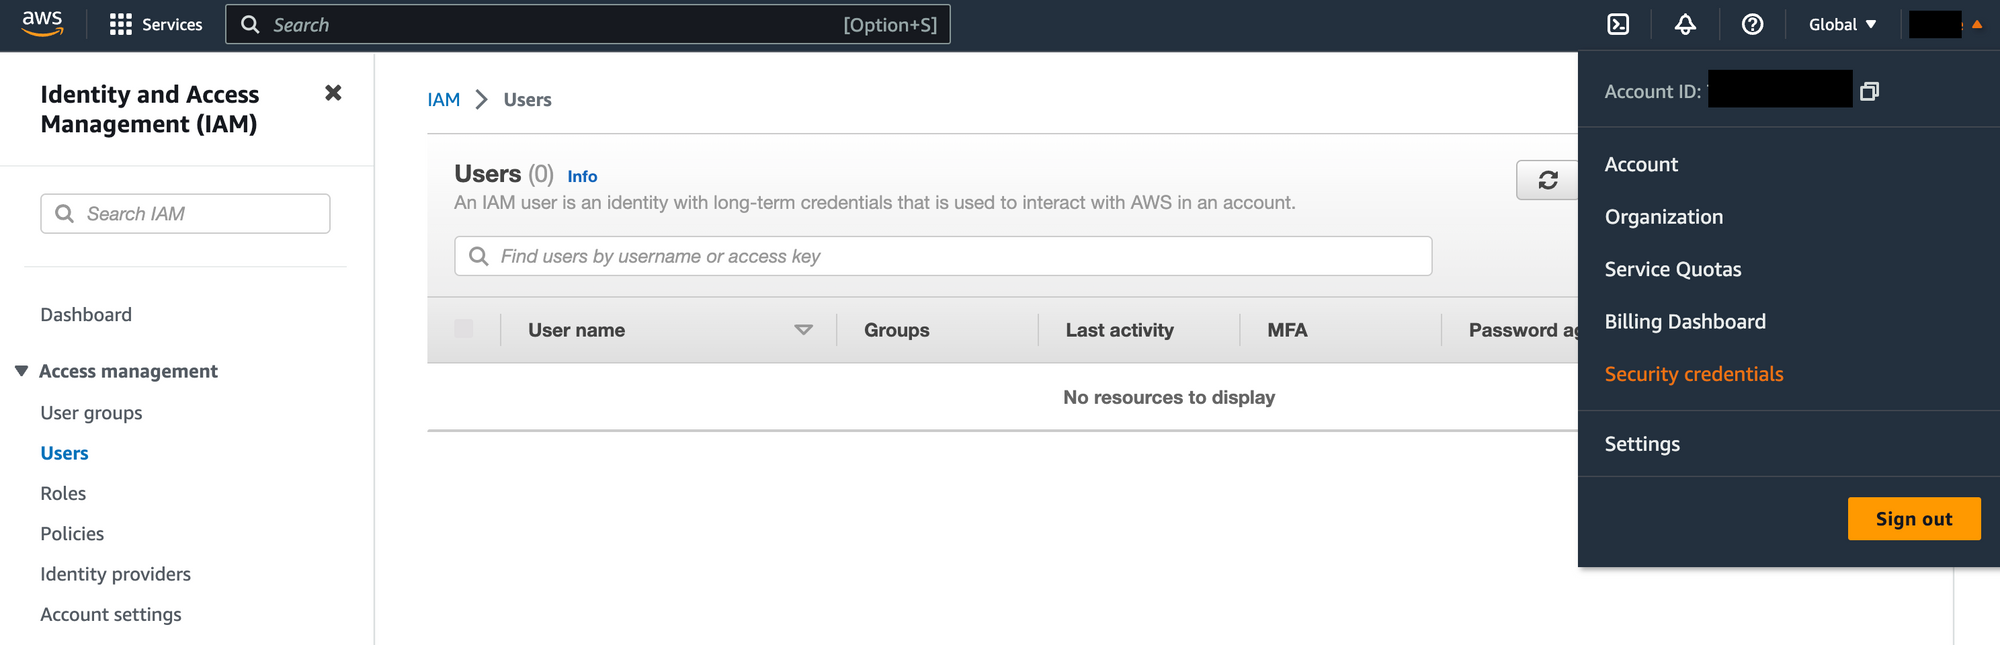
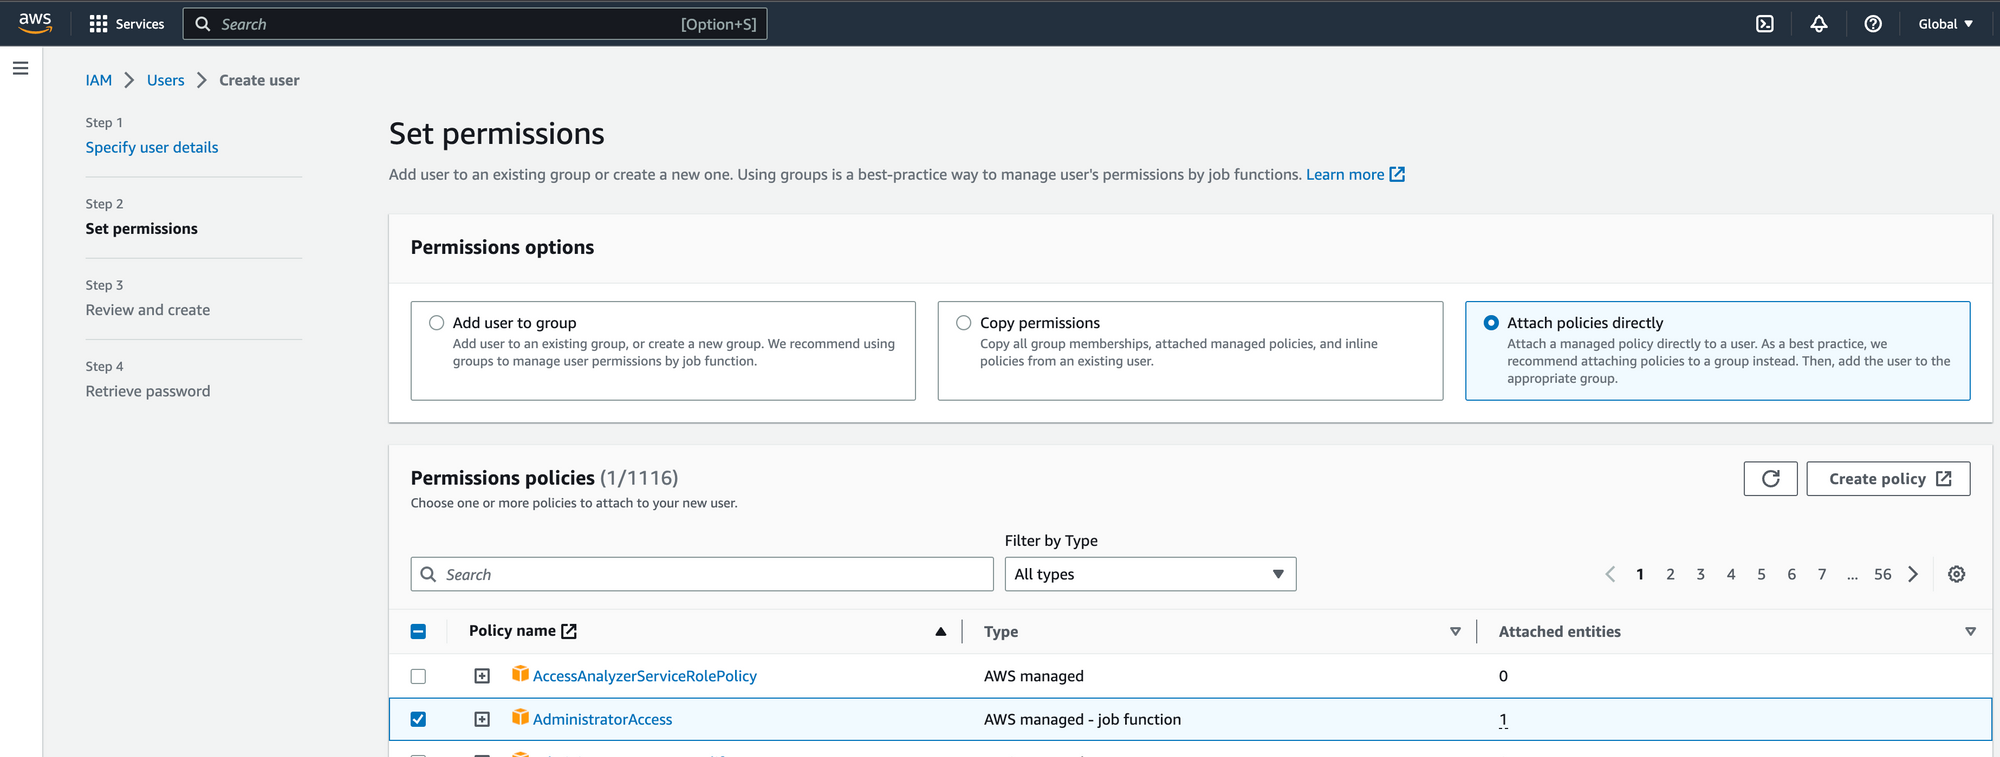
The best practice for the security of the account is to create an admin user. If the root account credentials are compromised, a bad actor could delete all services. To create a user go to Security credentials, Users, then click on add user.
Follow the directions on the screen and more information can be found here.
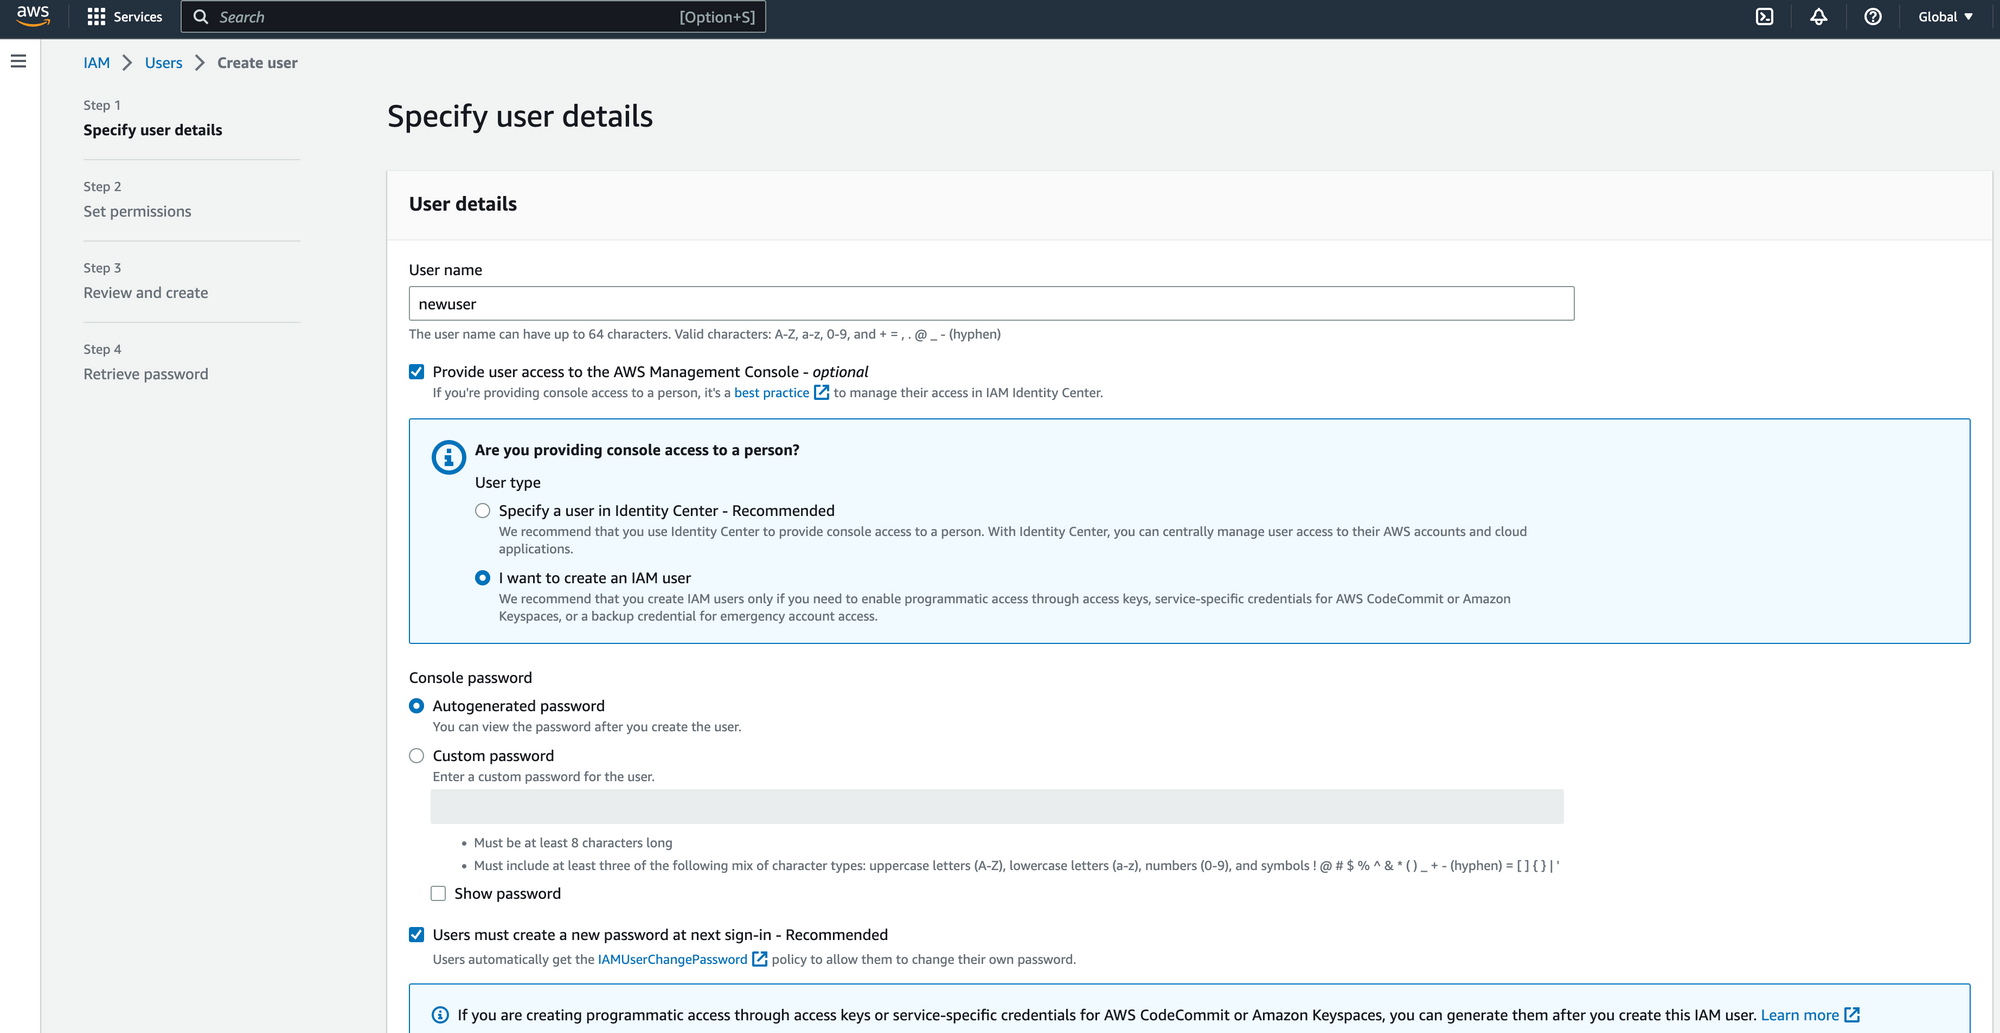
We didn't create any groups, so for now we will give the new user admin privileges.
Once, the account is created we can download the user credentials so we can log in as the new user.
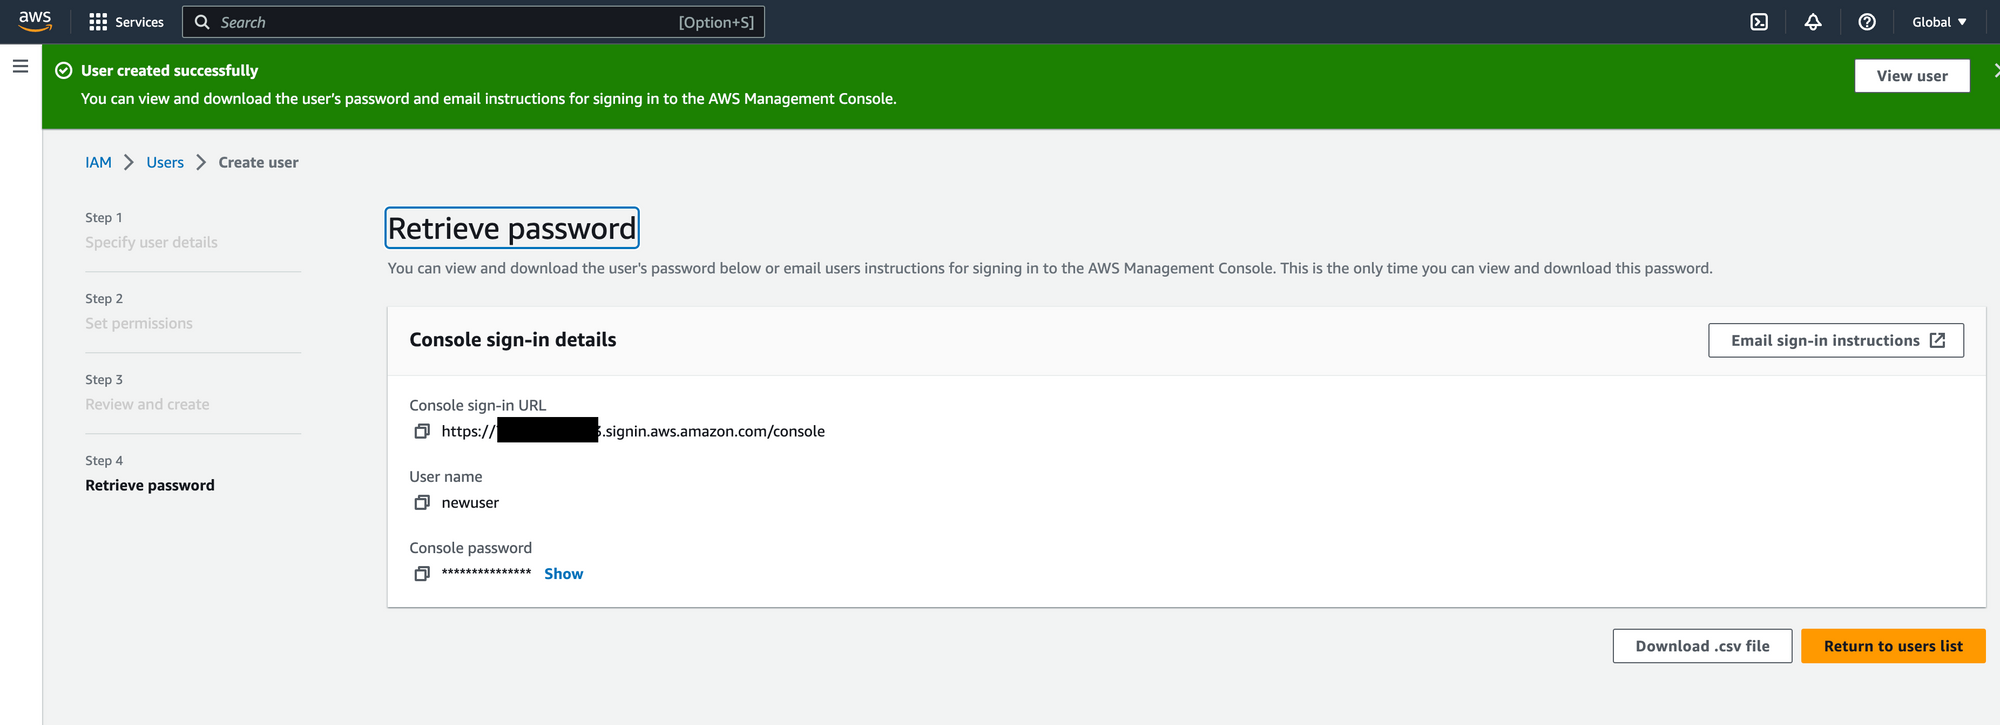
We can use the console sign-in URL to sign in with the new user.

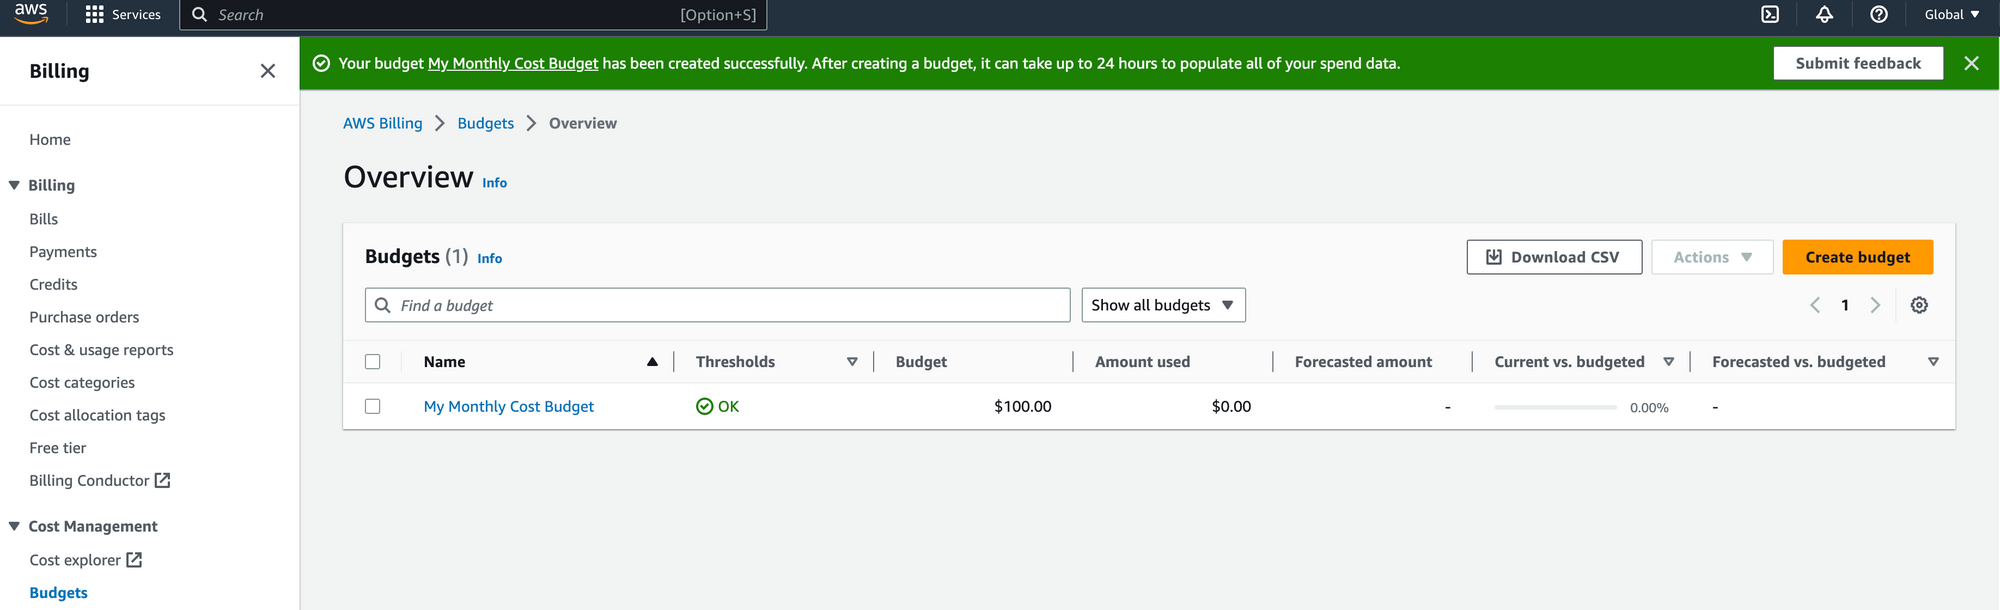
Create a budget
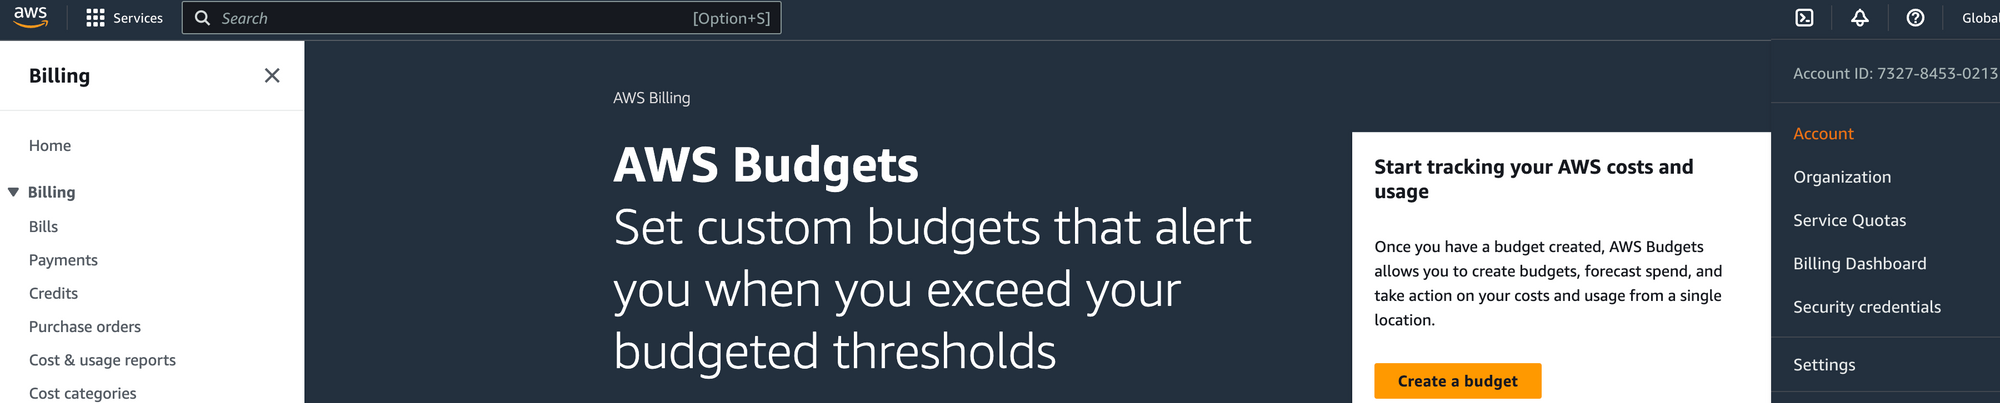
Convenience and cost usually go hand in hand. Ultimately, it's a balancing act. We want the convenience and benefits of using the cloud, but we don't have to break the bank to do so. To create a budget go to Account, click on Budgets on the left menu, then select Create a budget.
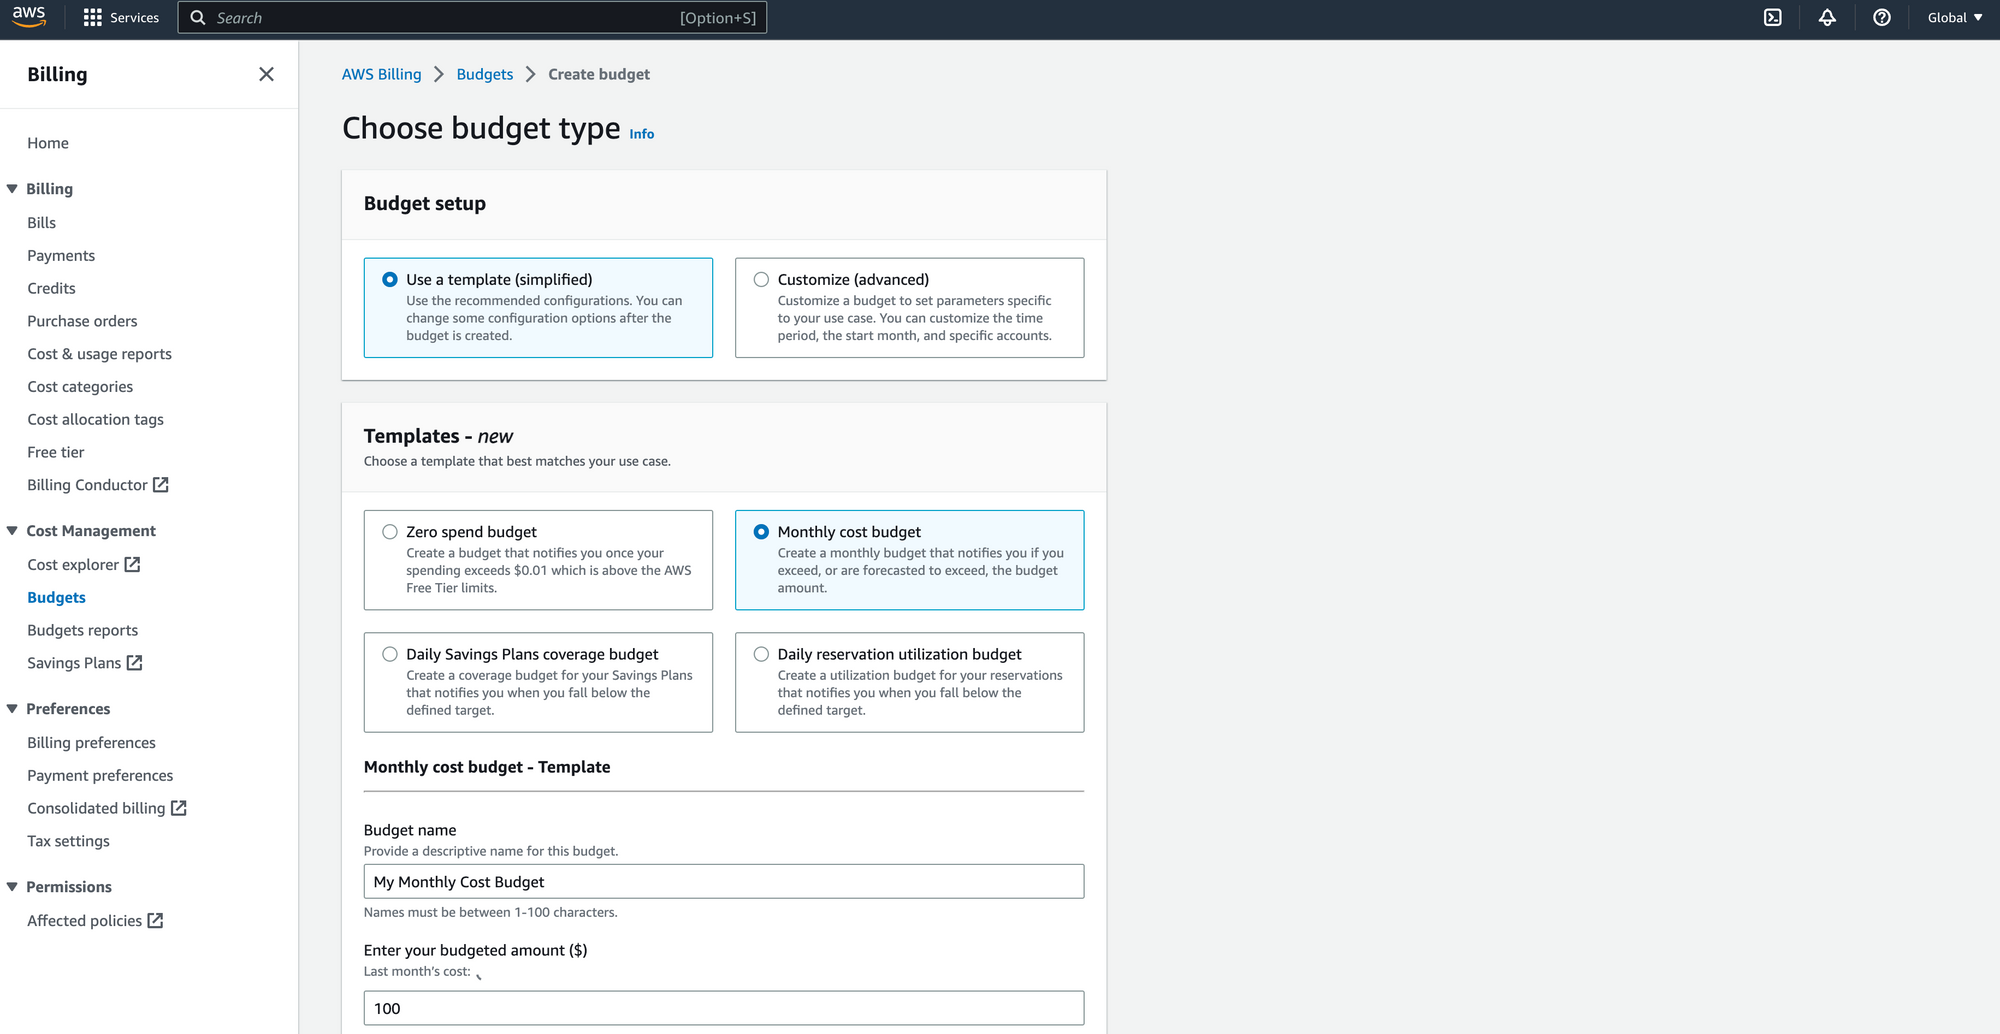
We are going to set our budget to $100 on a monthly cost budget. If our budget is going to go over this amount, we will get an email to alert us. A valid email address is required for the alerts.
You can find more information on budgets here.
Access Keys
Access keys will allow users to interact with your AWS account. One IAM account can contain two access keys. For this example, we will create an account to use the AWS CLI.
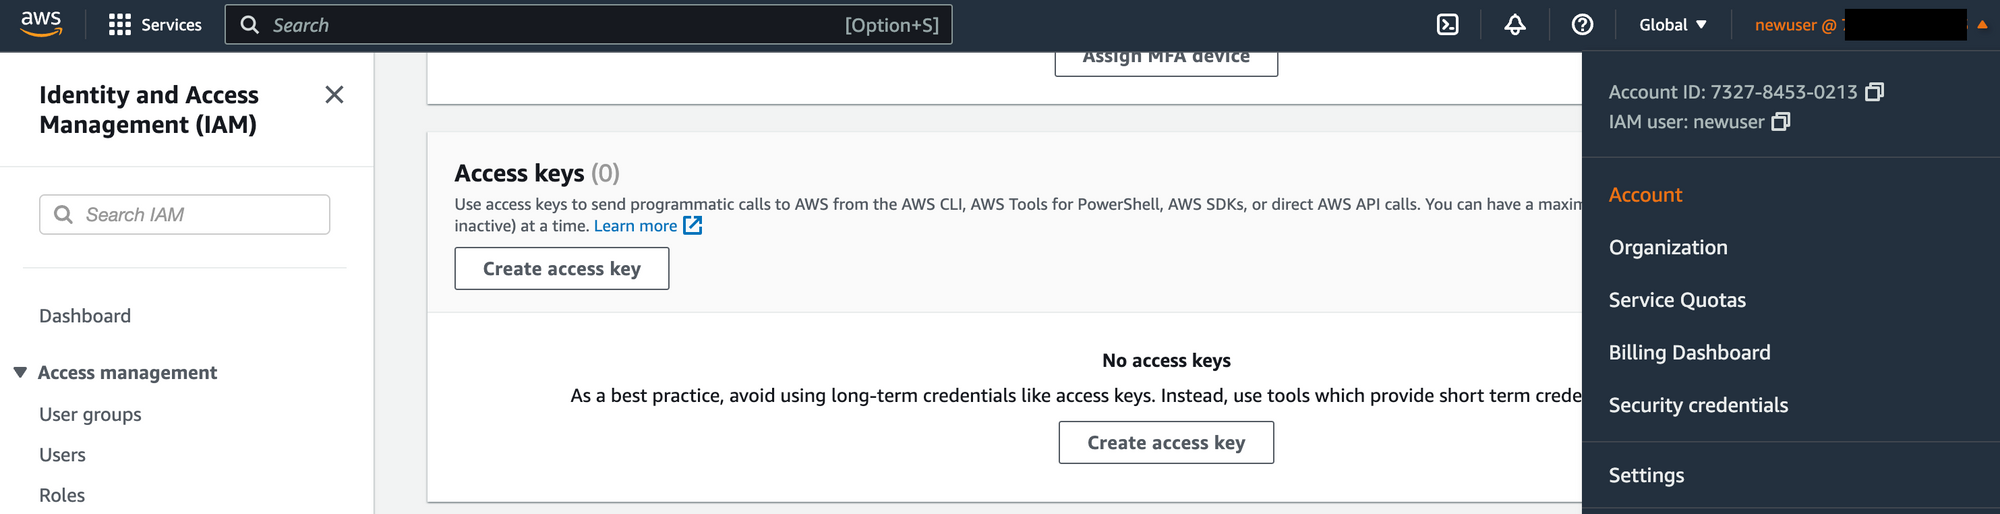
Click on create access keys, and select Command Line Interface (CLI). After the keys are created download the csv file.
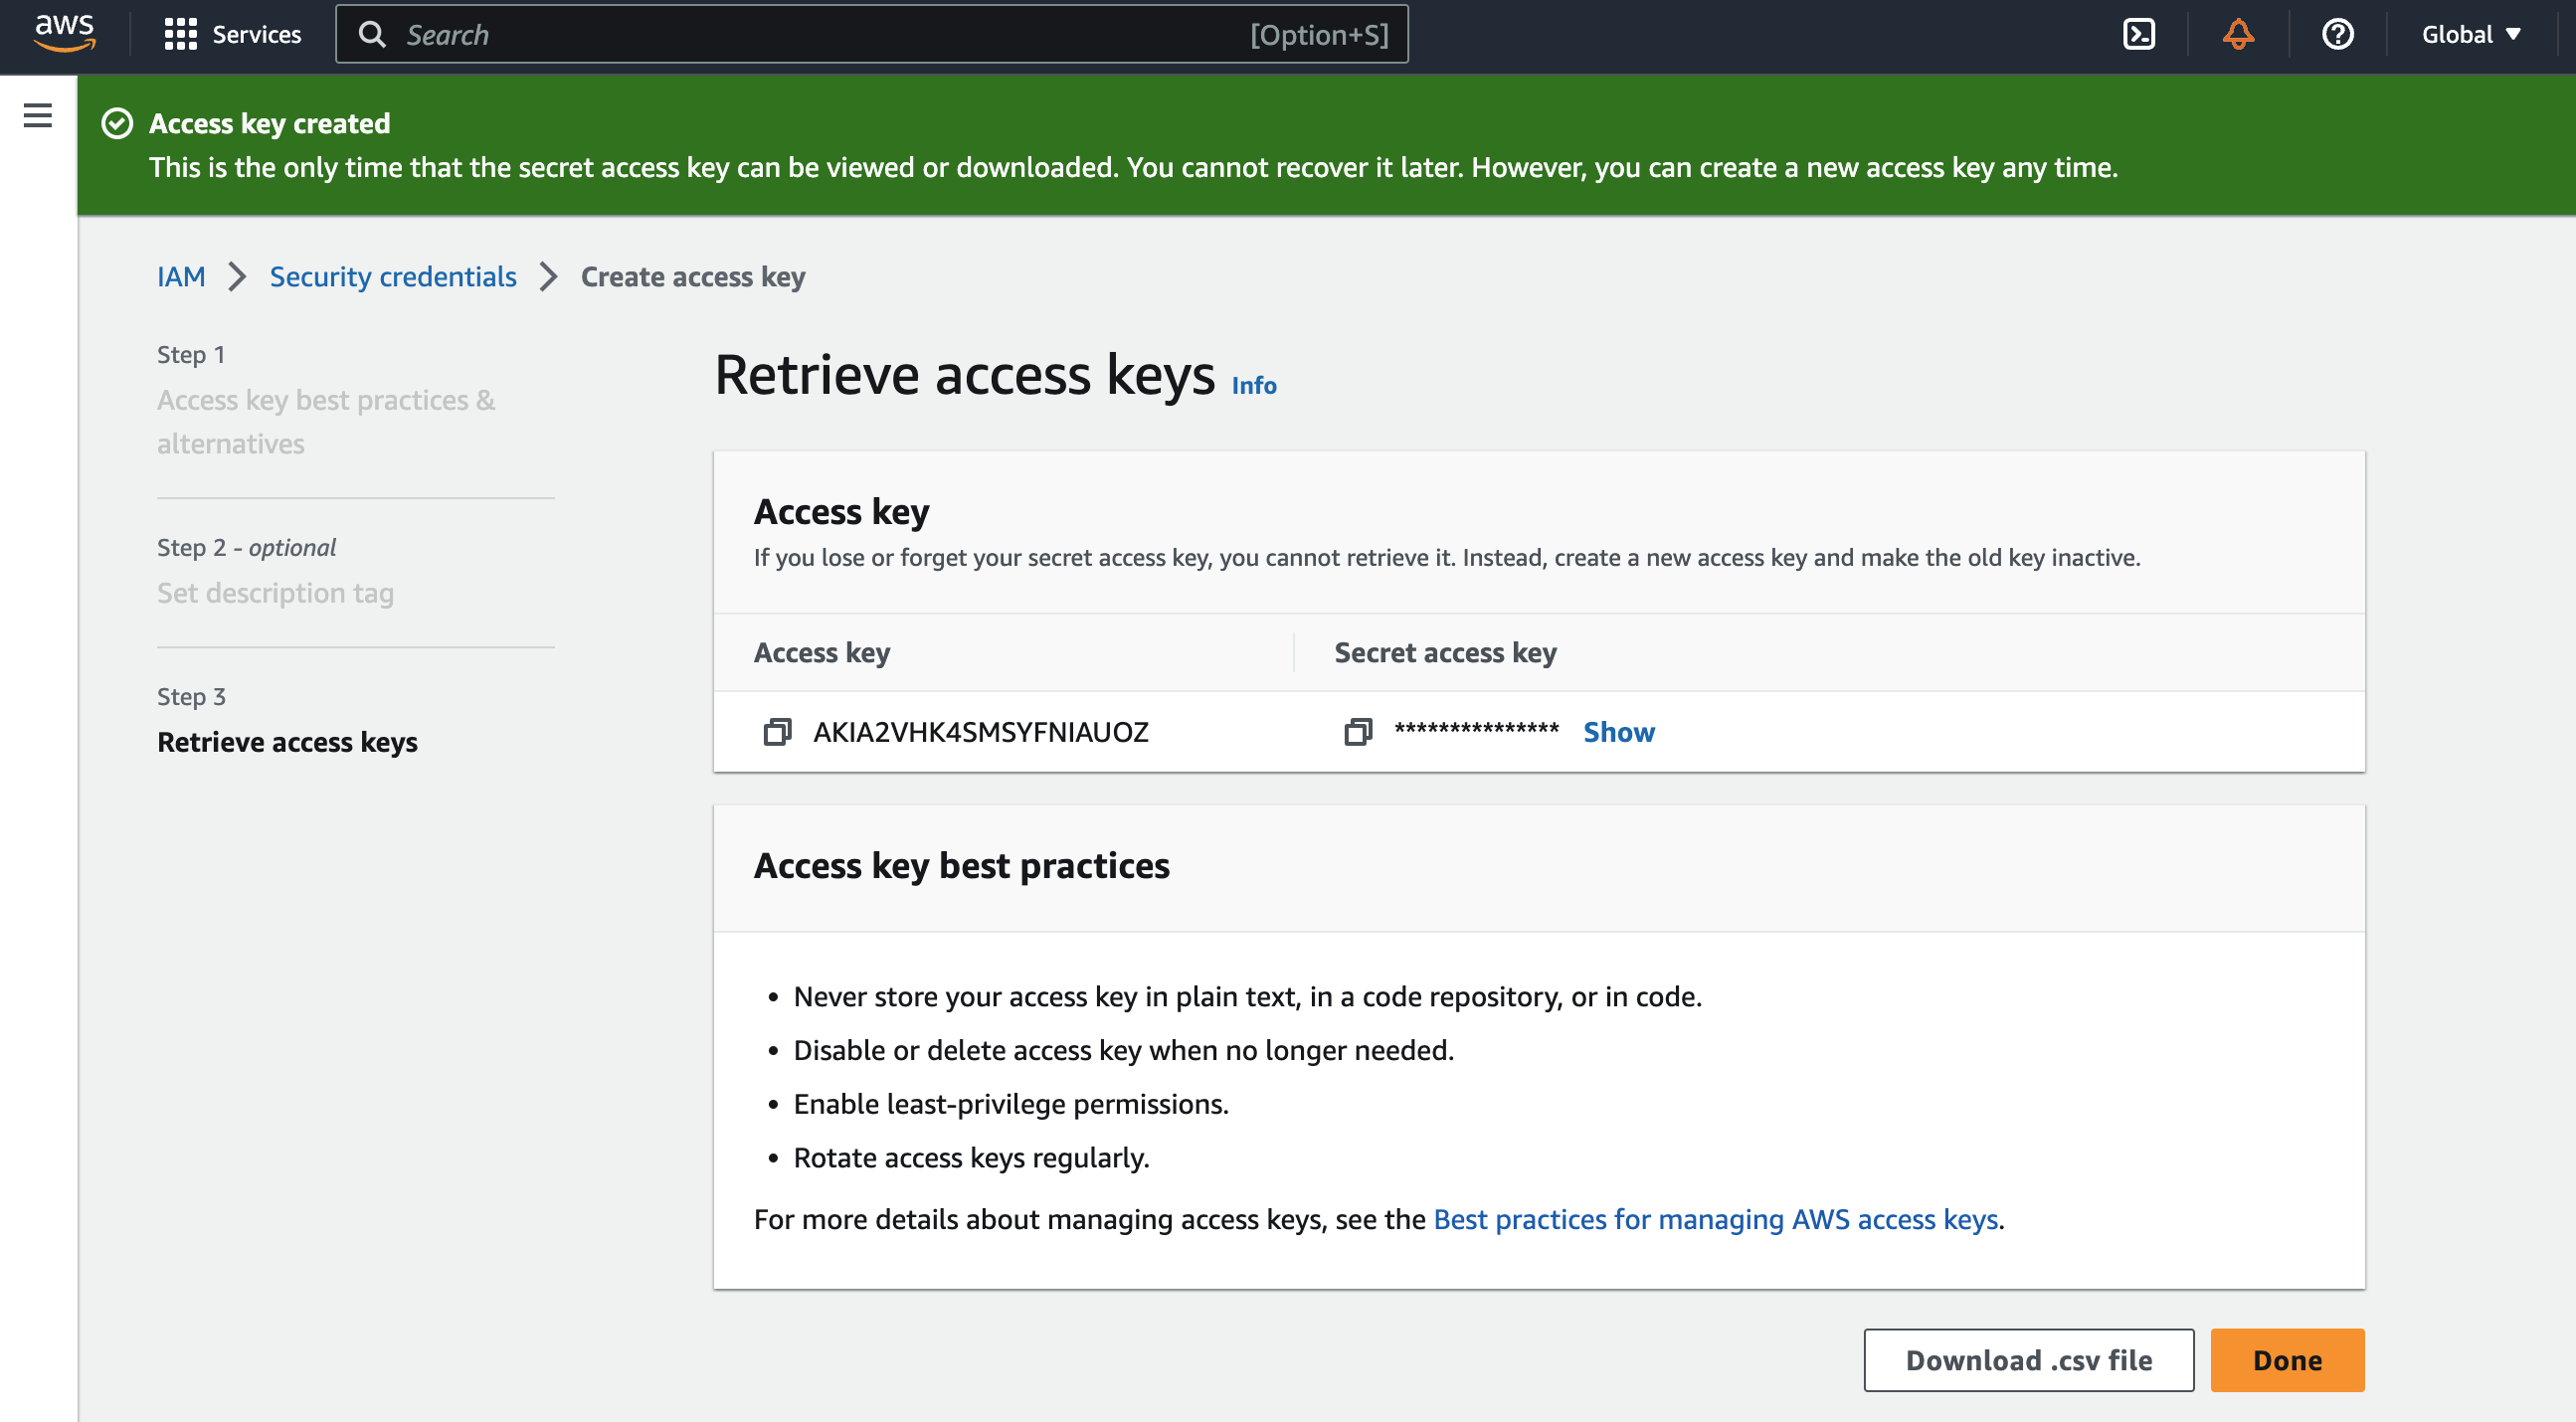
Open the terminal and run the following commands.
aws configure --profile newuser-general
aws s3 ls --profile newuser-general
If your account is new it will not list any S3 buckets because they do not exist. To test the CLI, add a S3 bucket and run the command again.
Happy Coding!