Getting Started with AWS: SQL Server Express with Amazon Lightsail
SQL Server 2022

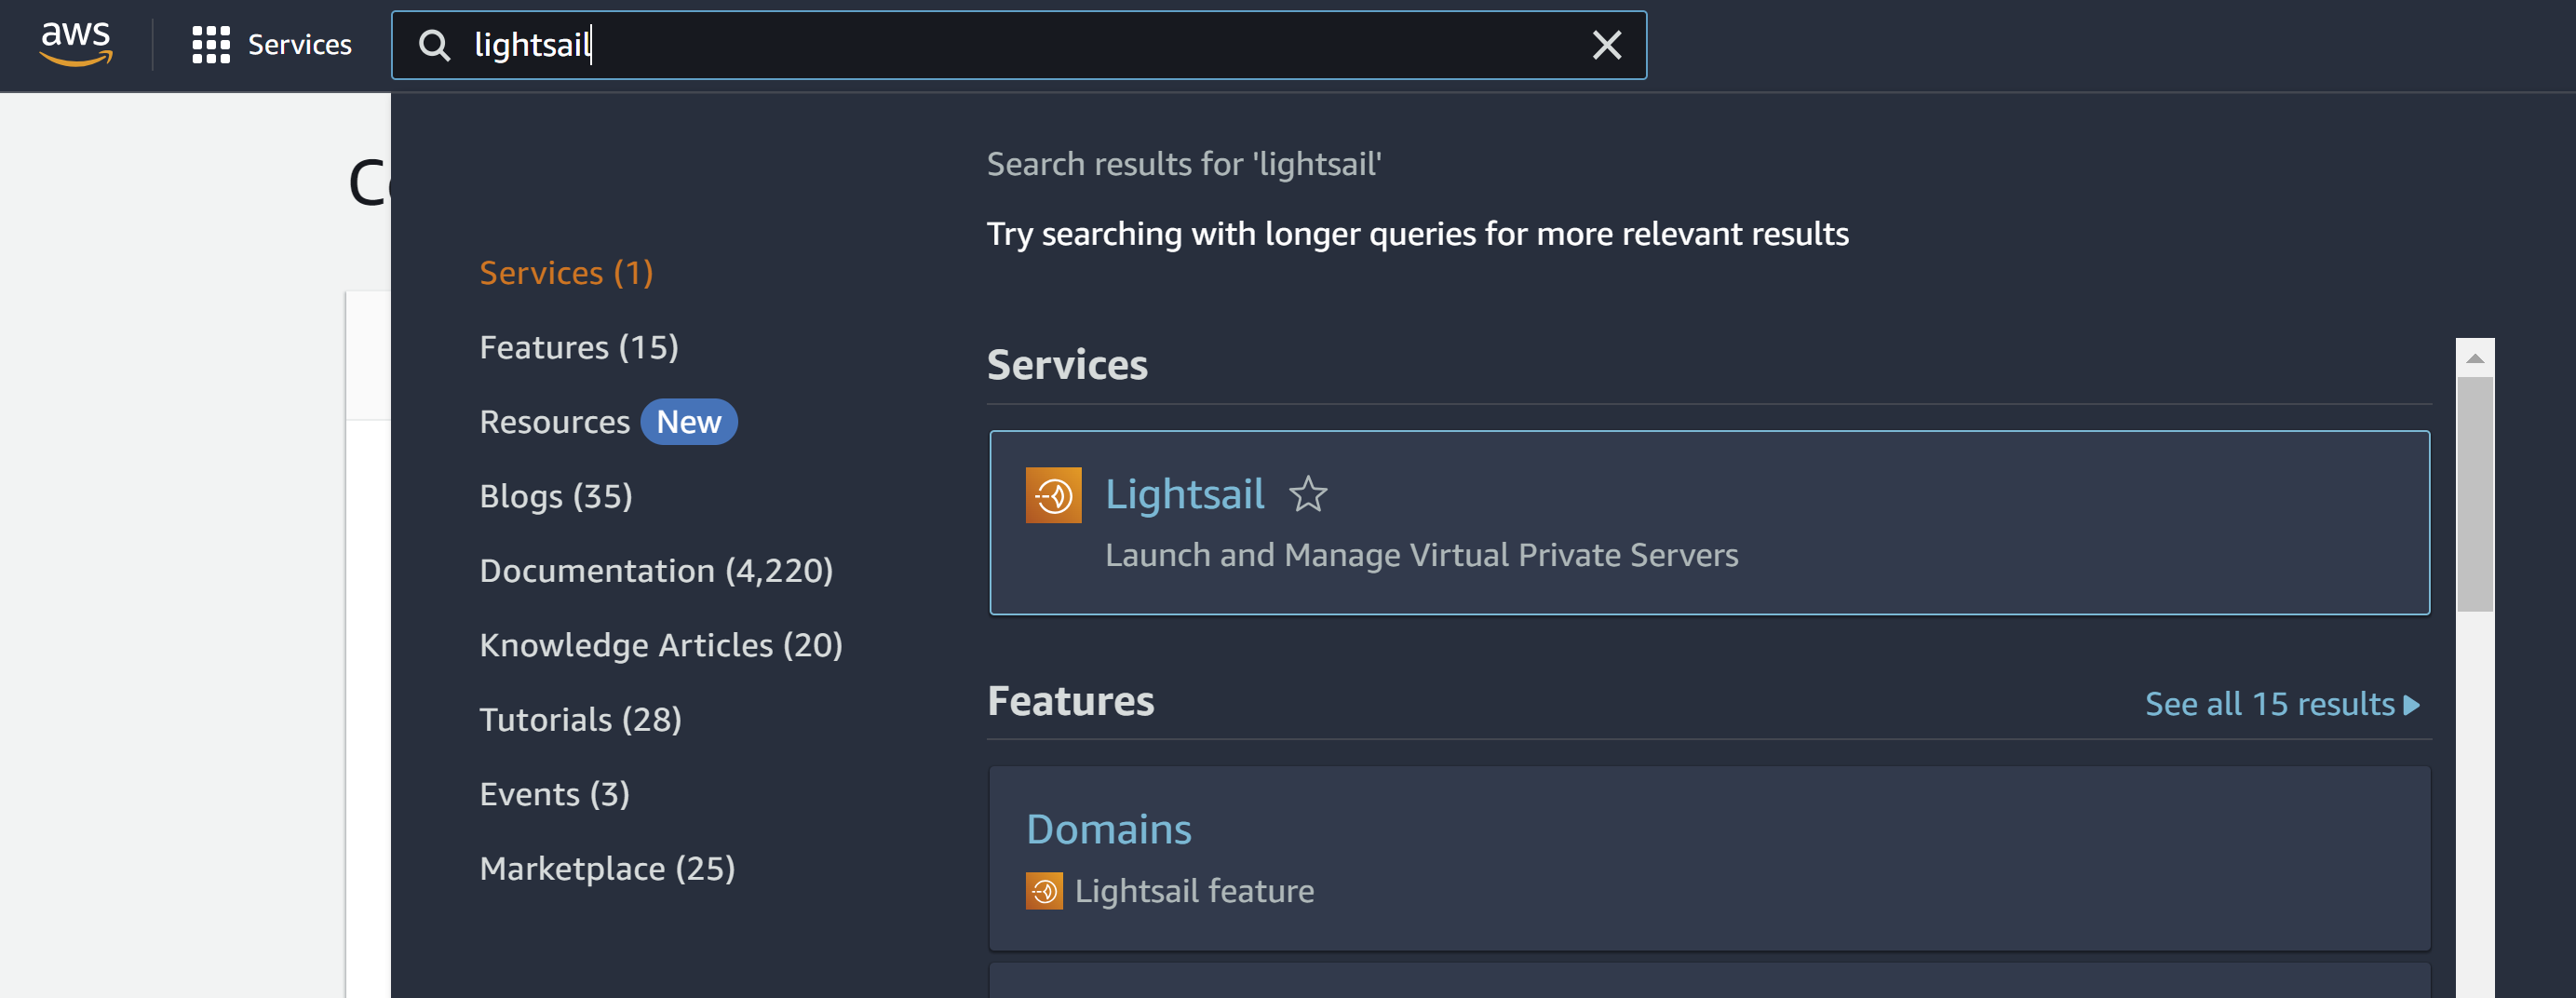
Data is essential to well, everything. There are multiple ways to store data, for this article, we will go through the steps to create a relational database, SQL Server. The cloud provider we'll use is AWS Lightsail. If you don't already have an account Create a AWS account. Use the search bar on the top to look for Lightsail.
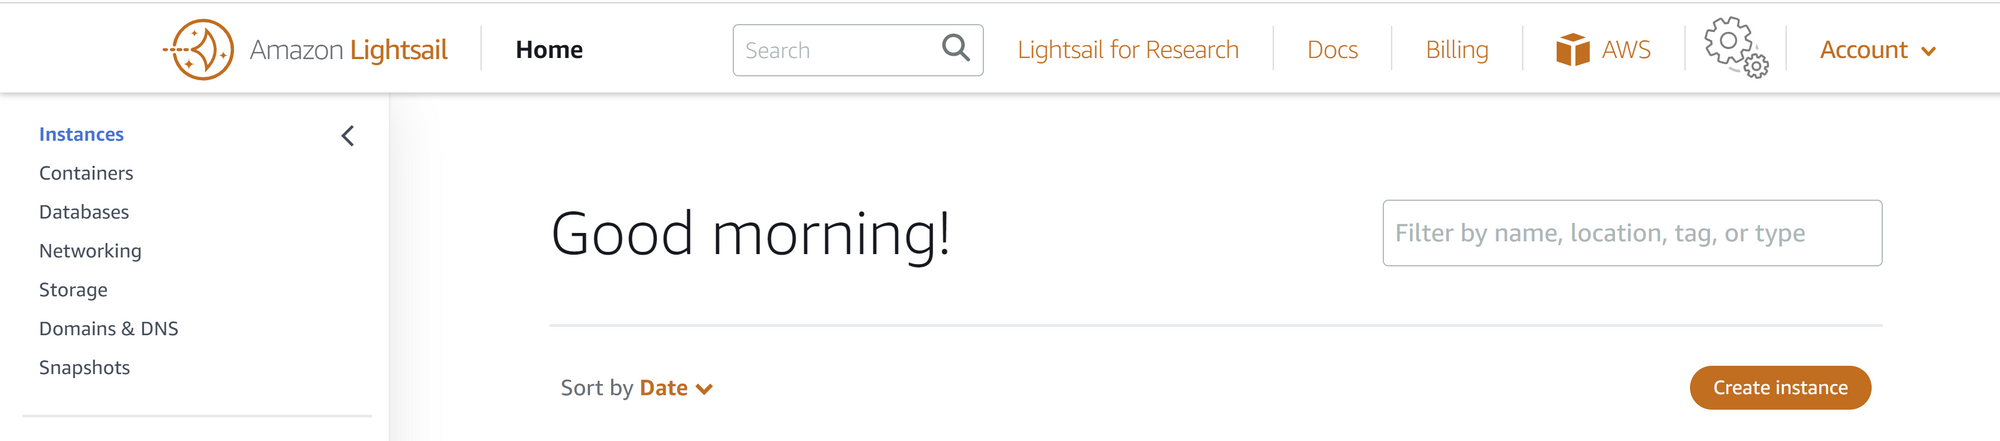
Create a Windows instance with SQL Server 2022 Express. The setup should take about 10-15 minutes.

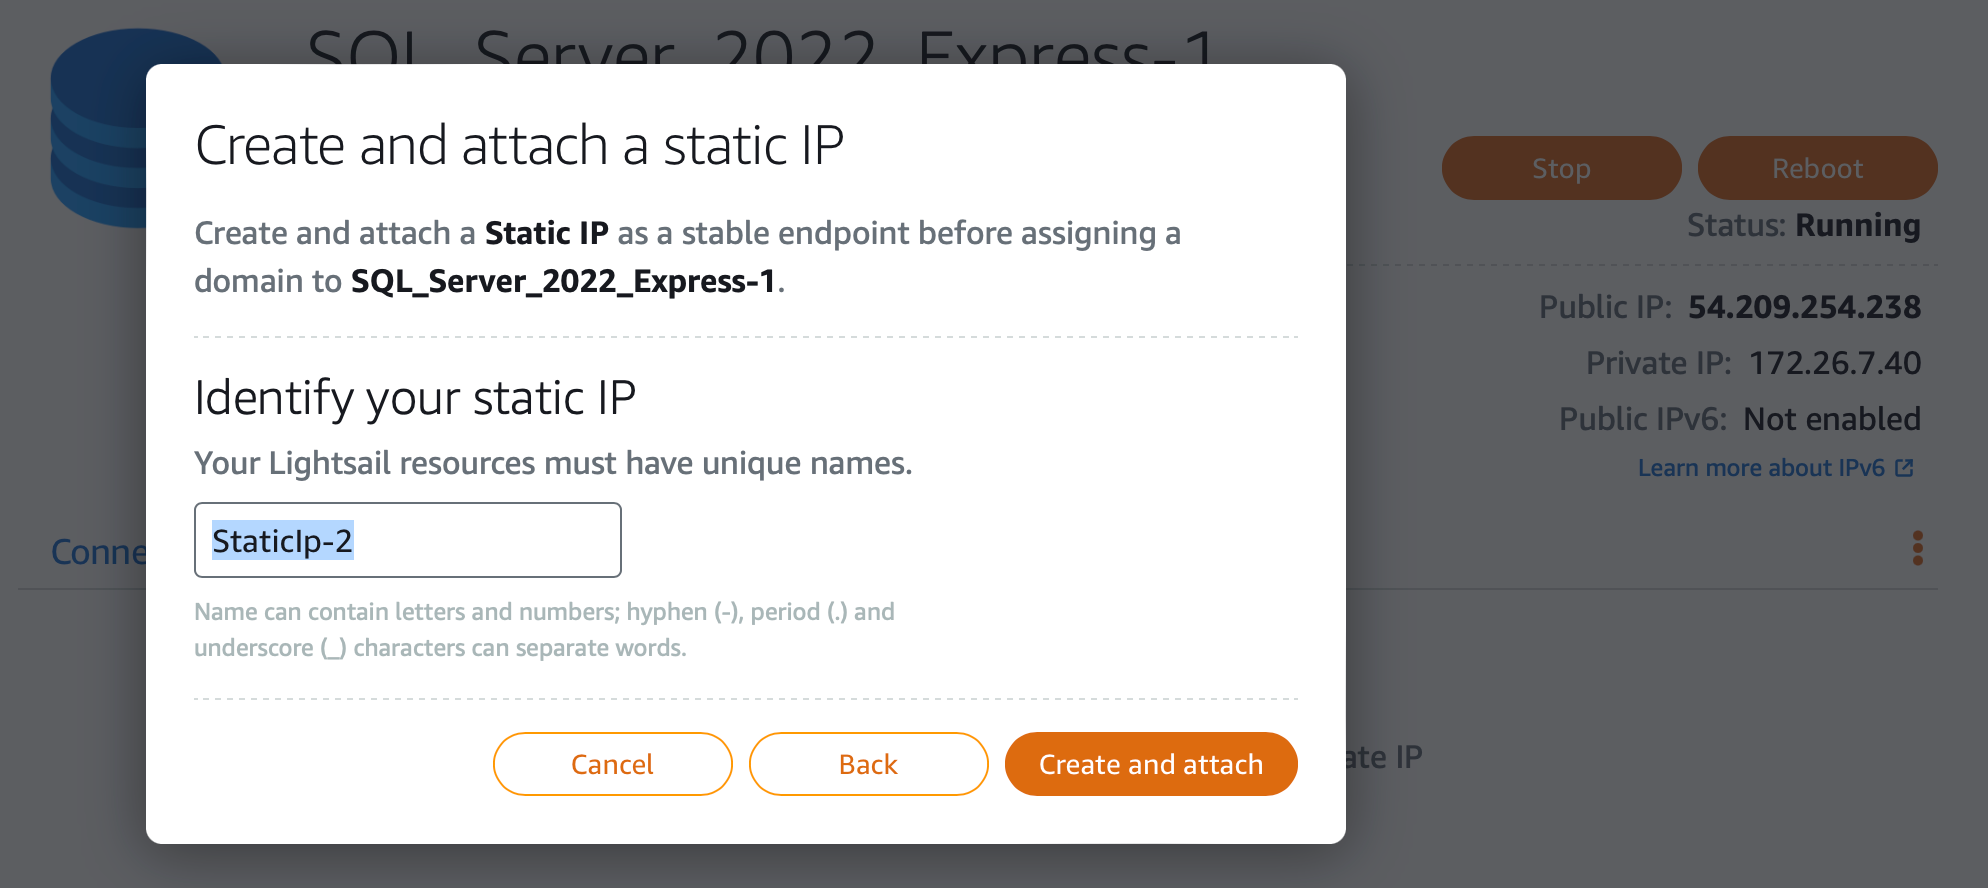
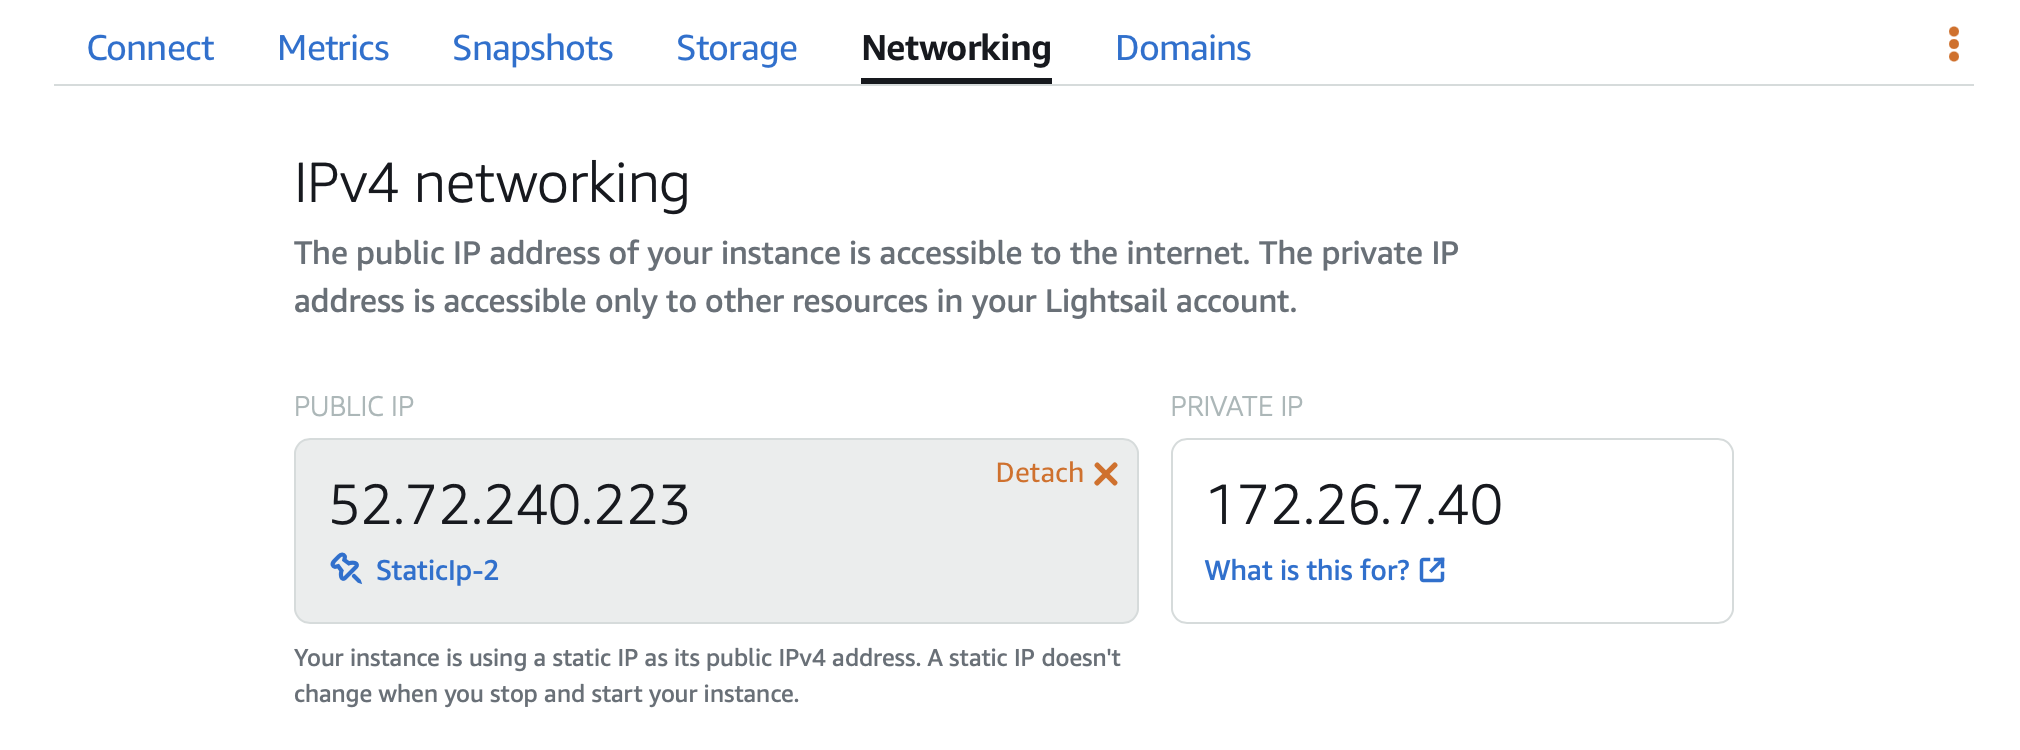
To allow you to log in to your server, AWS will assign an IP address to the server. The IP address will change if you stop or restart the server. To avoid this, we can assign a static IP to the server.

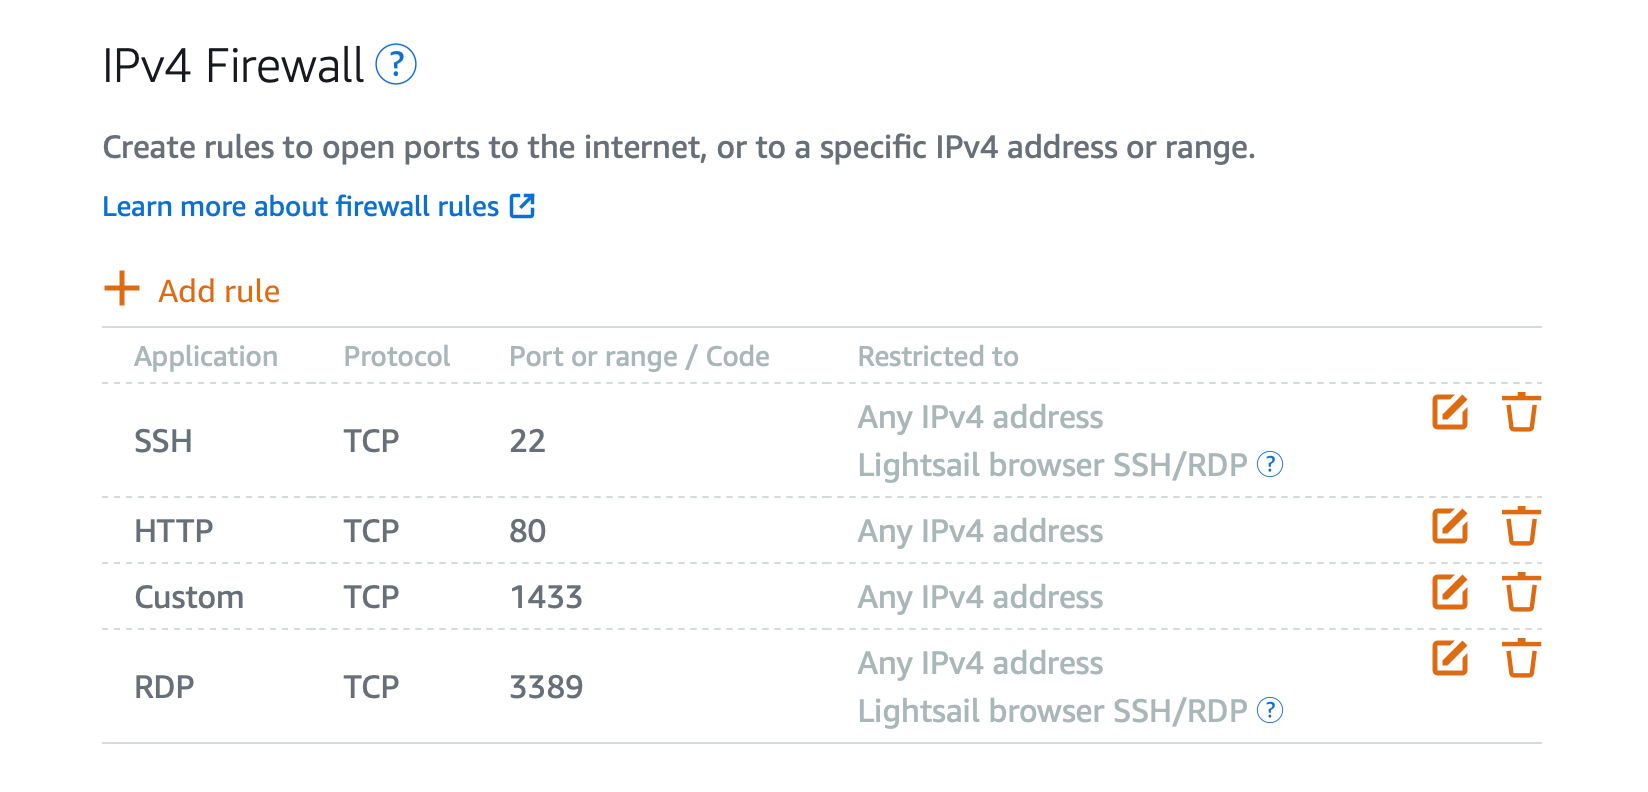
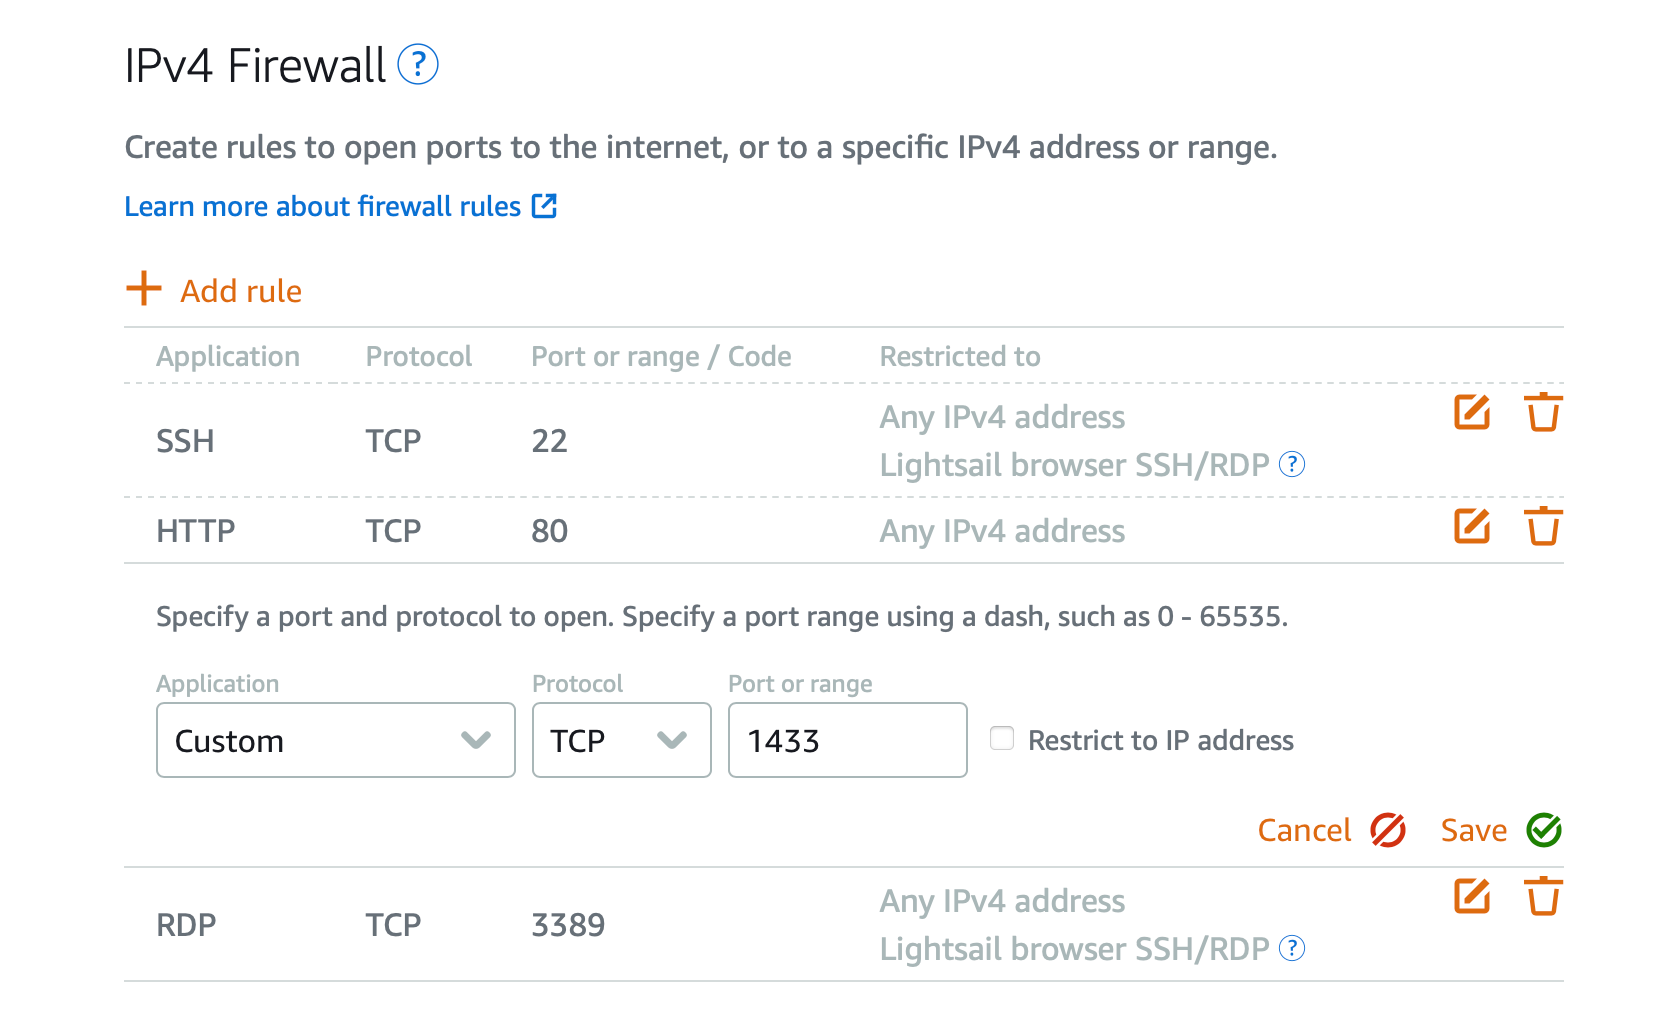
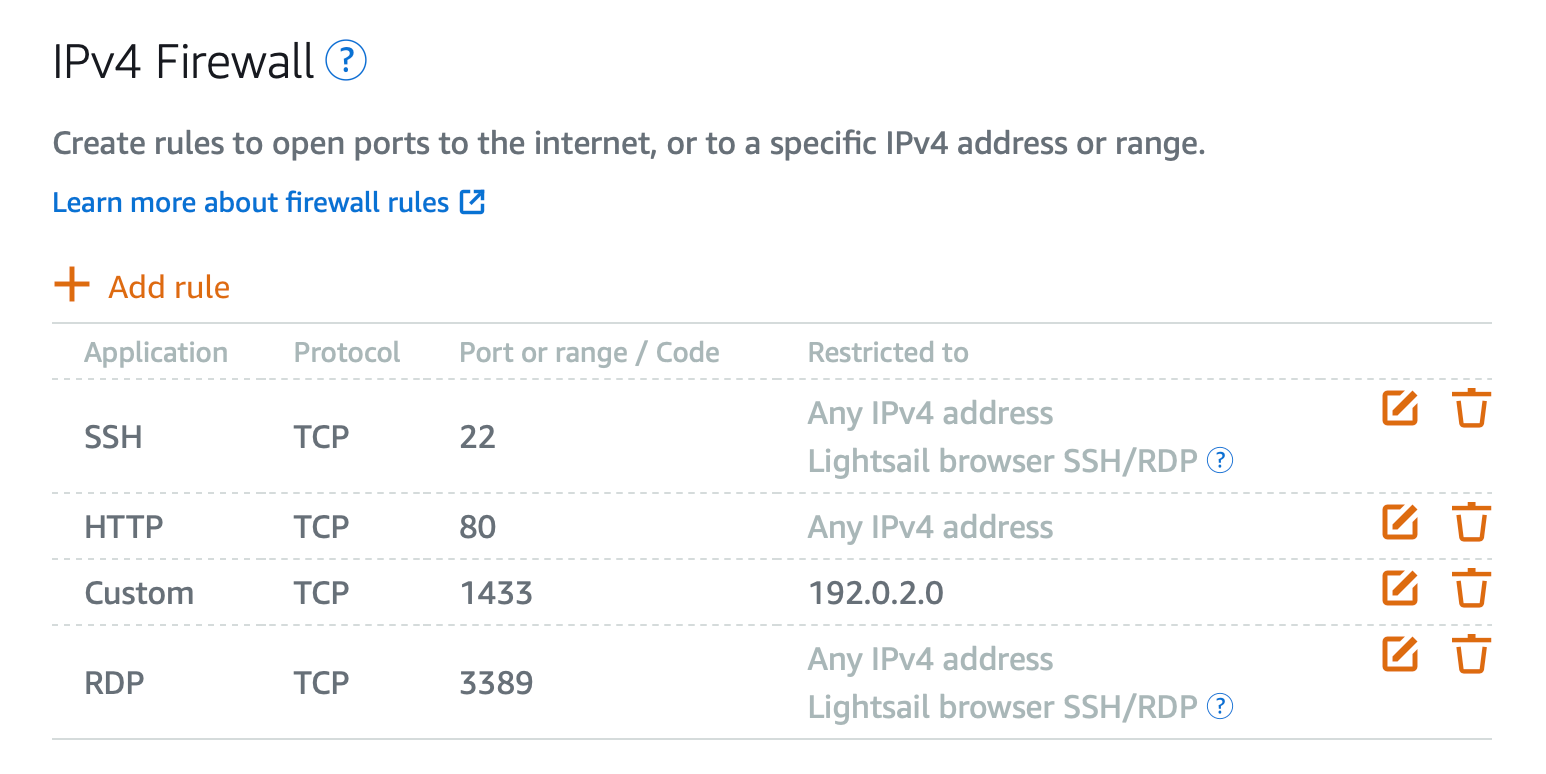
When you scroll down the networking tab, you will see the firewall rules. By default, ports 22, 80, and 3389. For security purposes, we should only allow traffic to ports that are necessary.
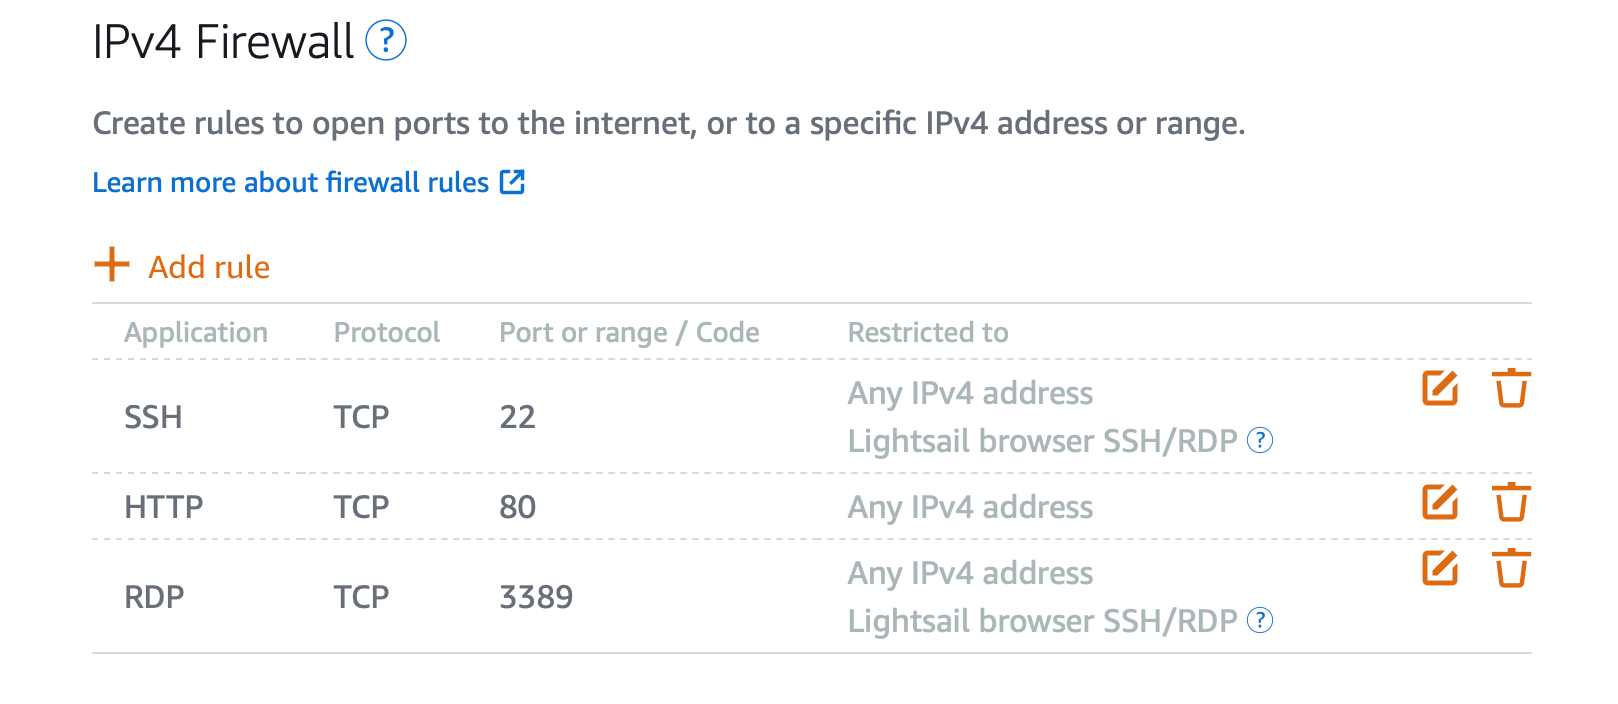
If you plan to access the SQL Server remotely, Port 1433 should be added to the firewall rules.
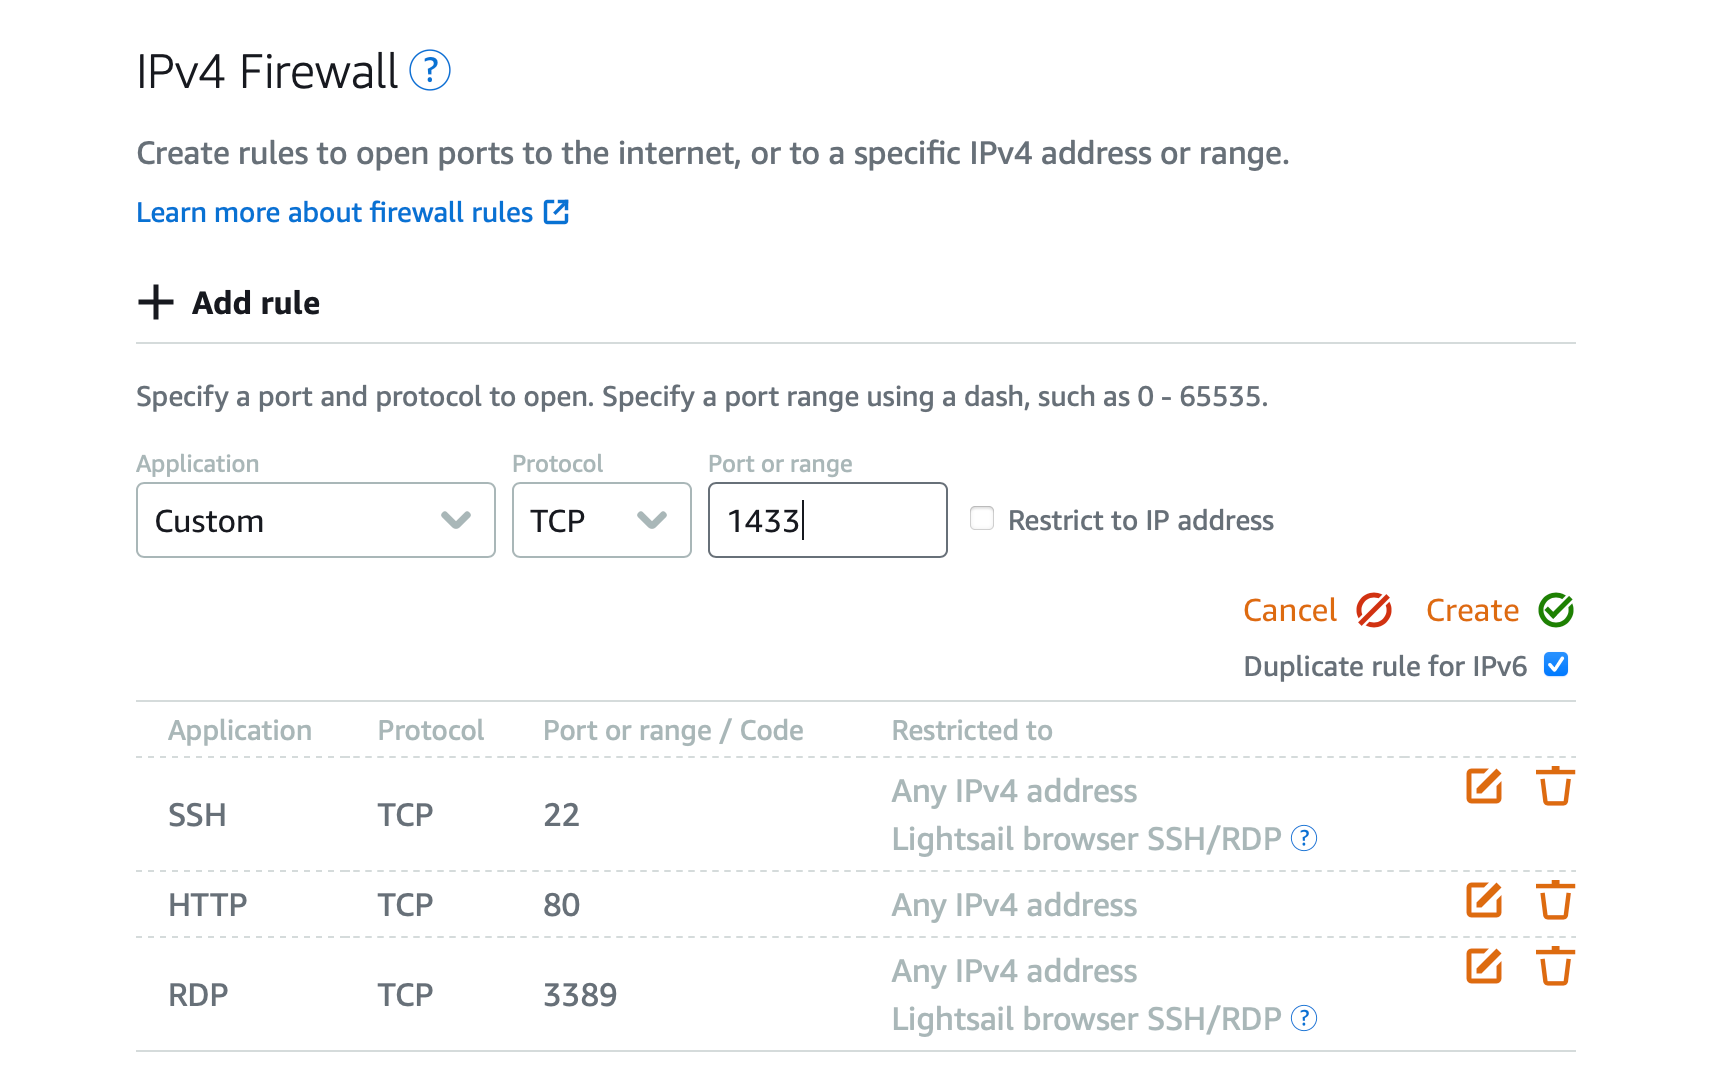
To further secure the server, we can restrict the IP addresses that can access the database. If you don't know your IP address you can Google "what's my ip" and paste it.
Connect to the Server
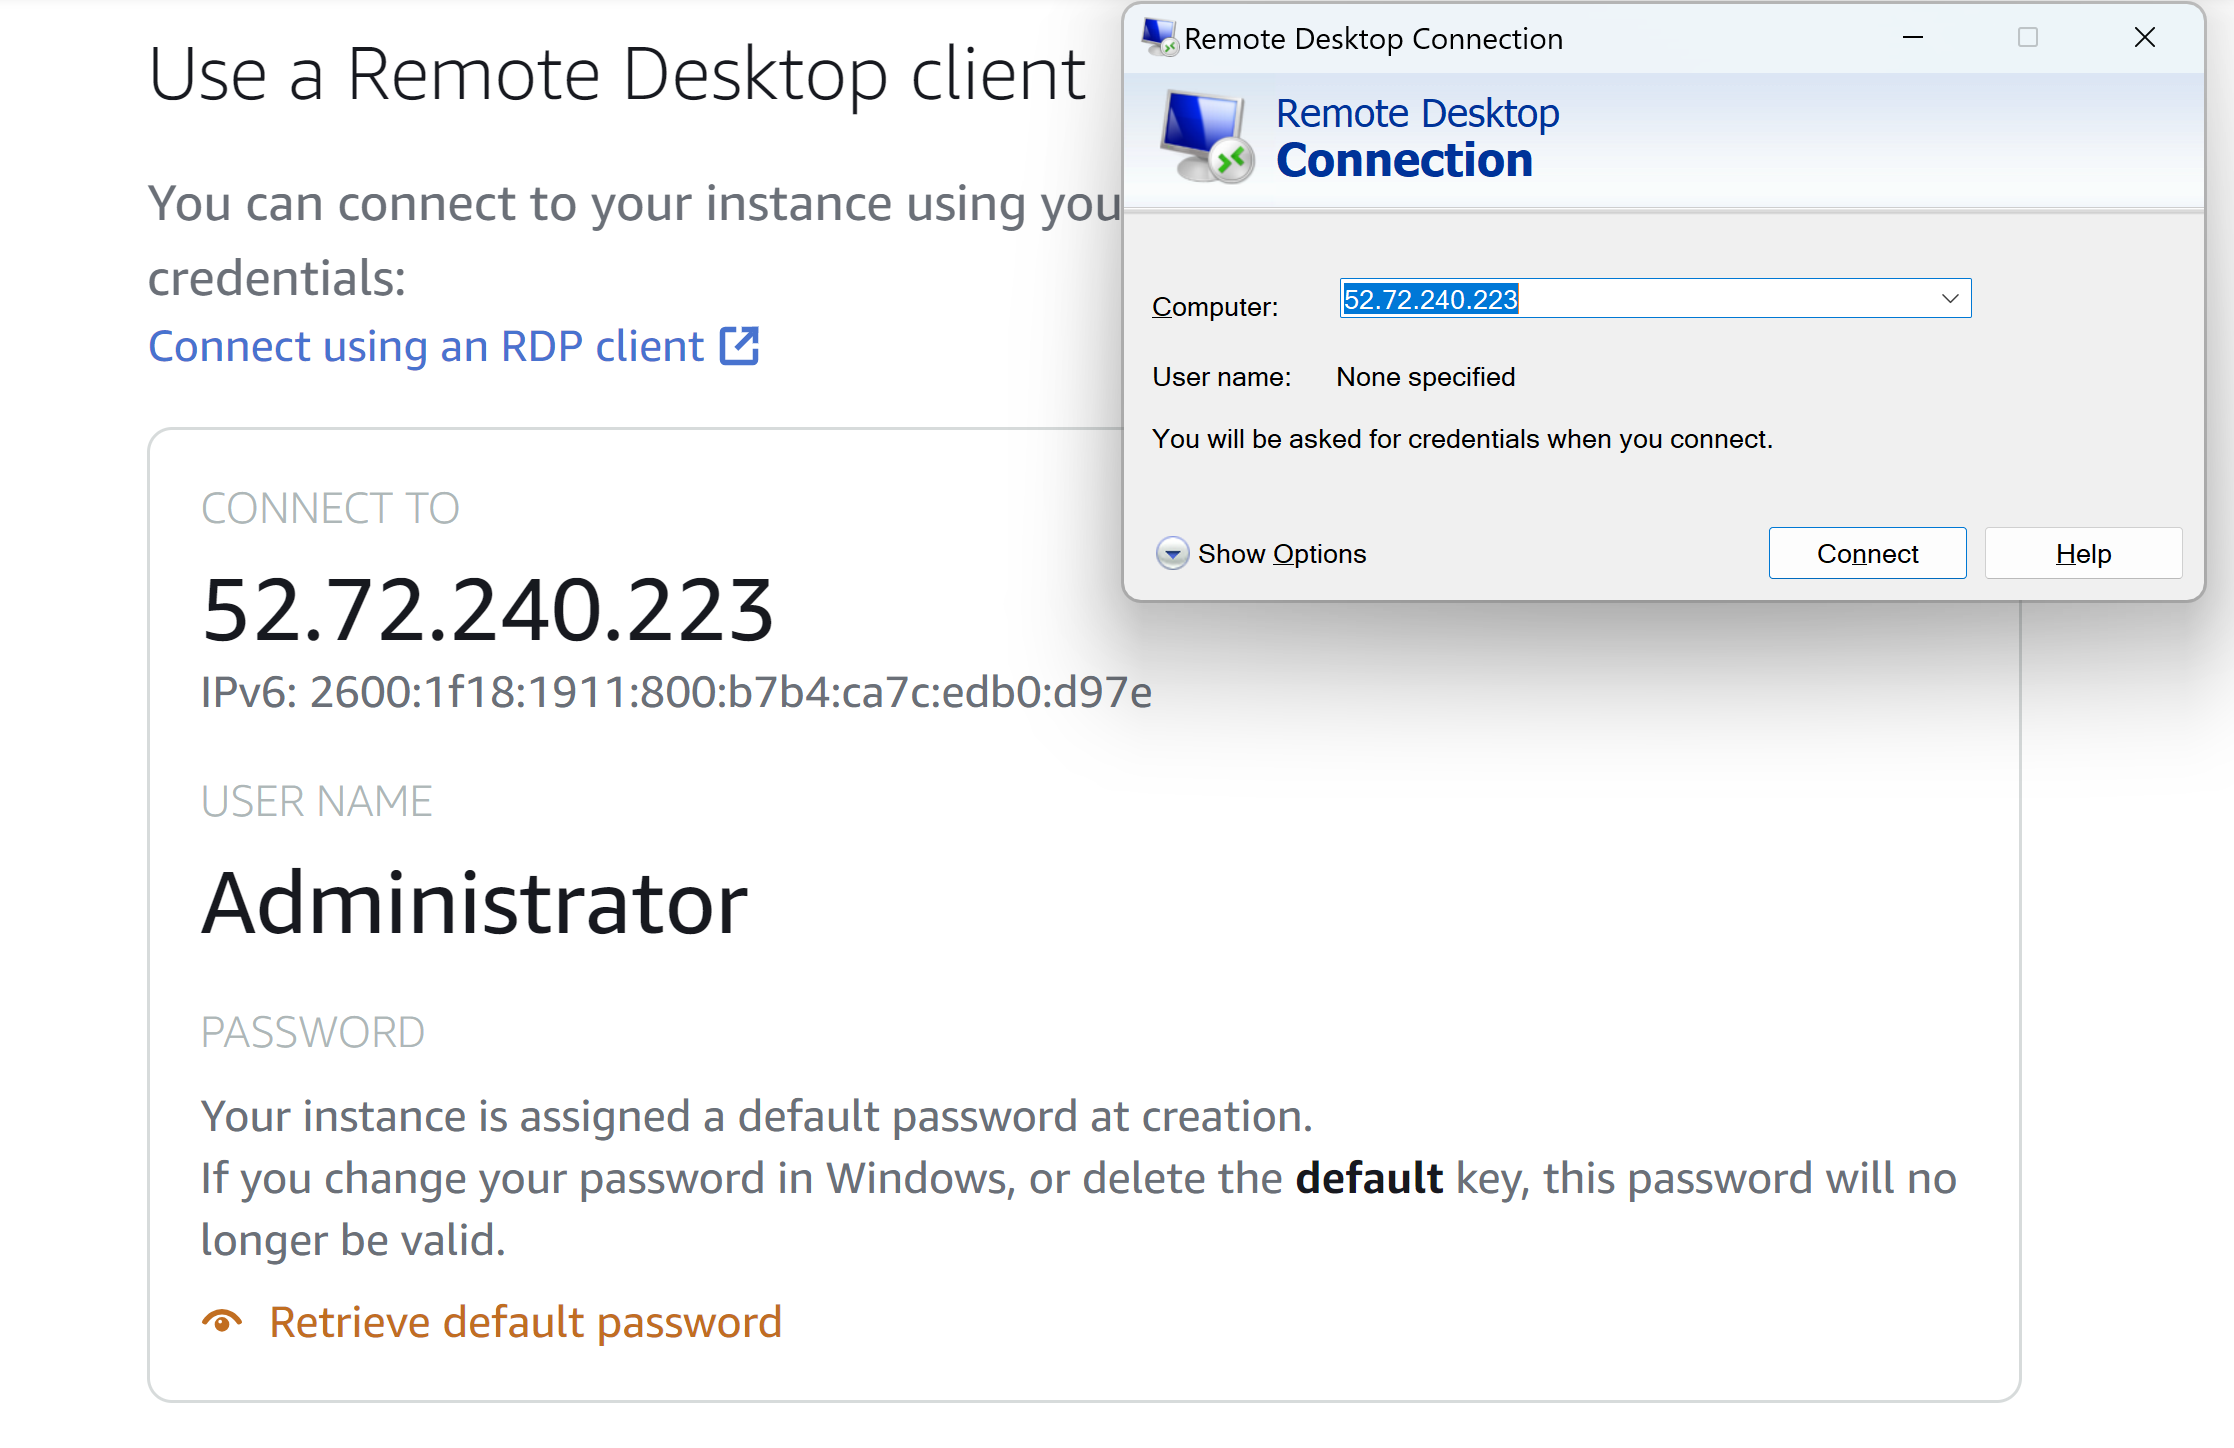
There are two ways to connect to the server, RDP and AWS browser connect. To connect through the Lightsail portal, click on "Connect using RDP".


The second way to connect to your instance is by using Remote Desktop Connection (RDP). Open RDP and copy the IP address then click connect. A prompt to enter a username and password will pop up. The credentials for the server can be found under User Name and Password.
Configure SQL Server
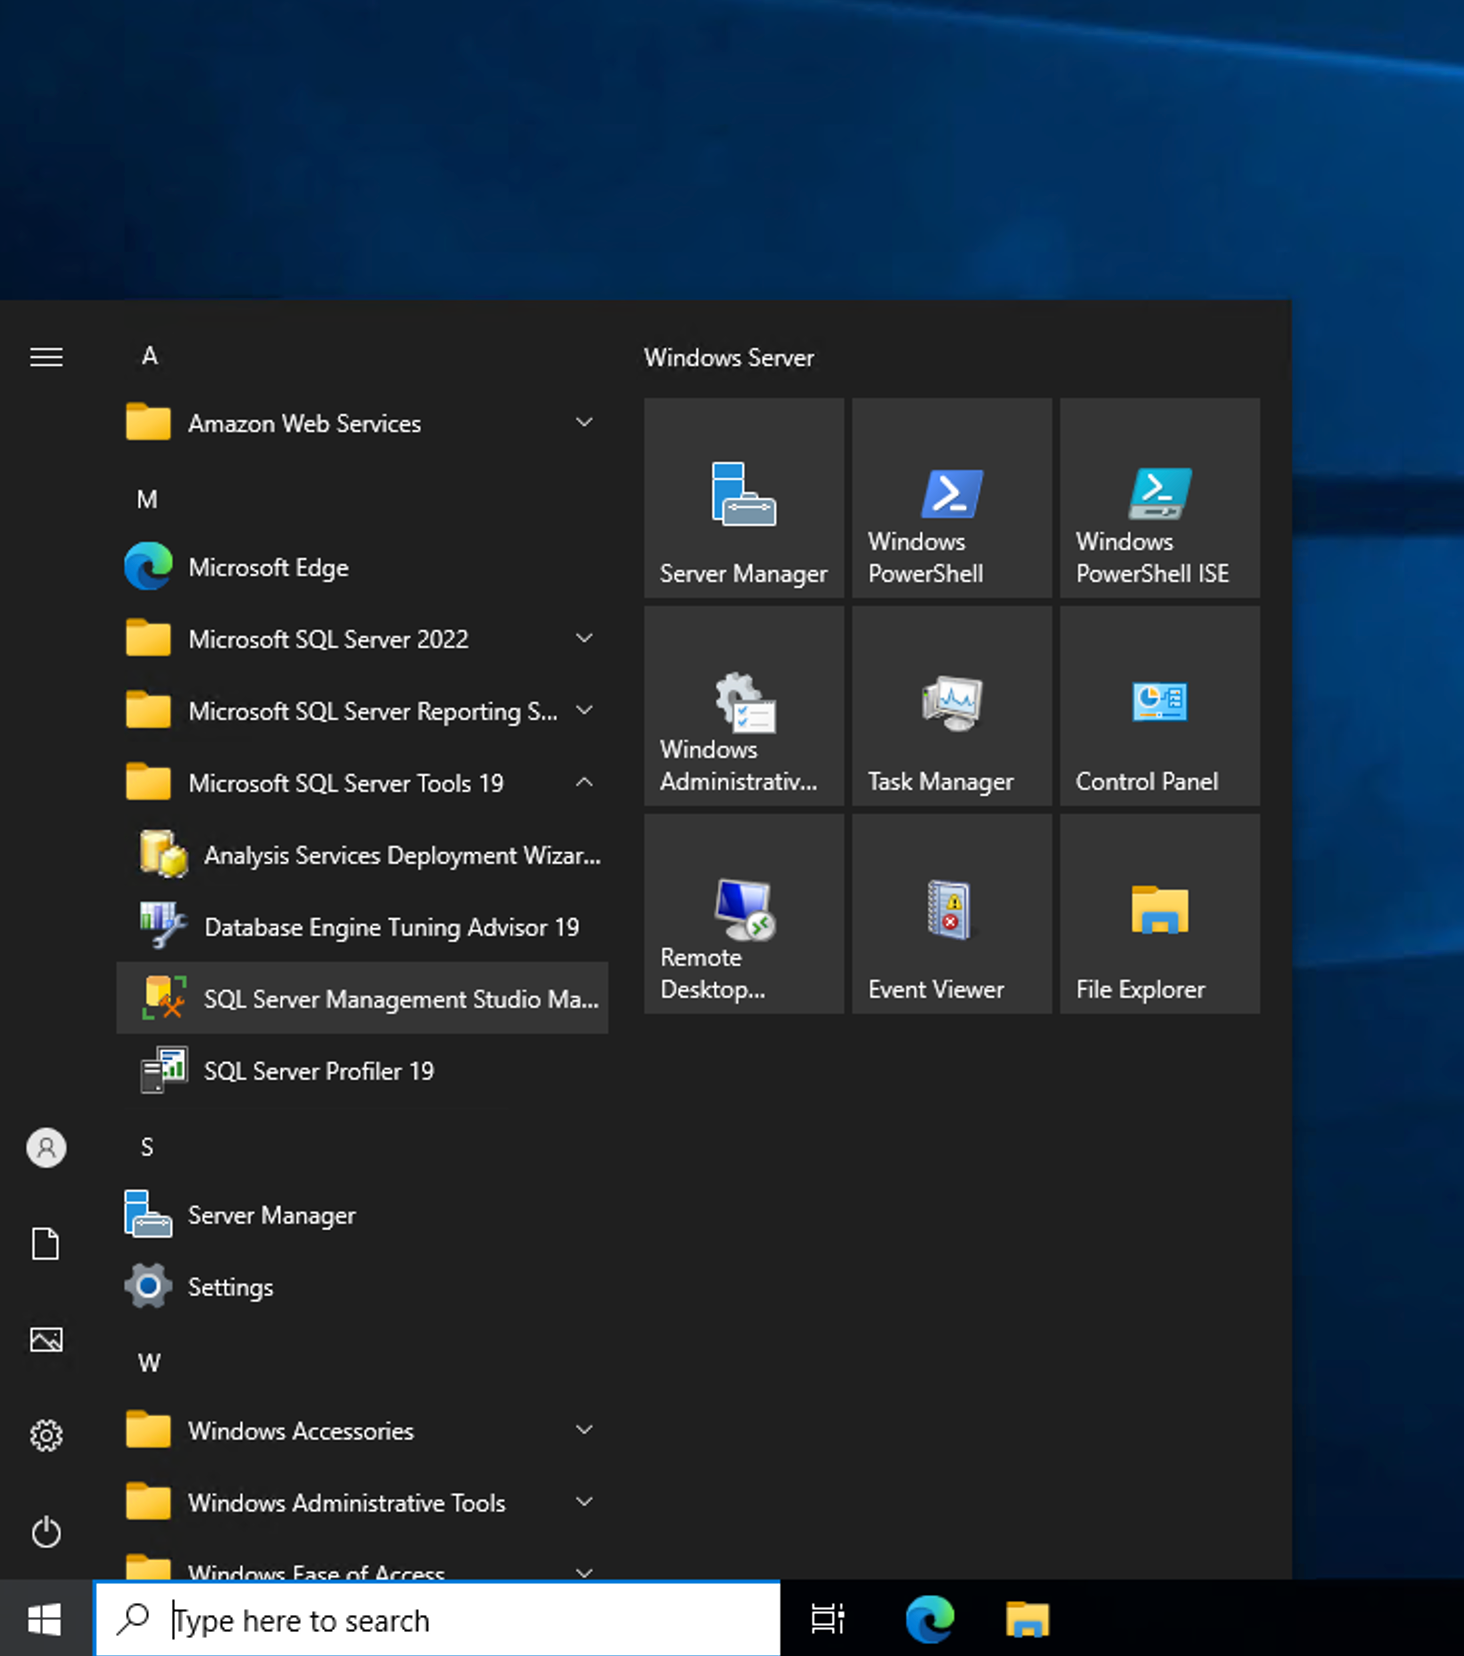
Most of the heavy lifting was done by AWS. Thanks for the hard work! We just need to make a few configuration updates. Open SQL Server Management Studio (SSMS) by clicking on the Windows icon, click on Microsoft SQL Server Tools 19, and click on SQL Server Management Studio. If you prefer to save three clicks, you can search for "SSMS" in the search bar.
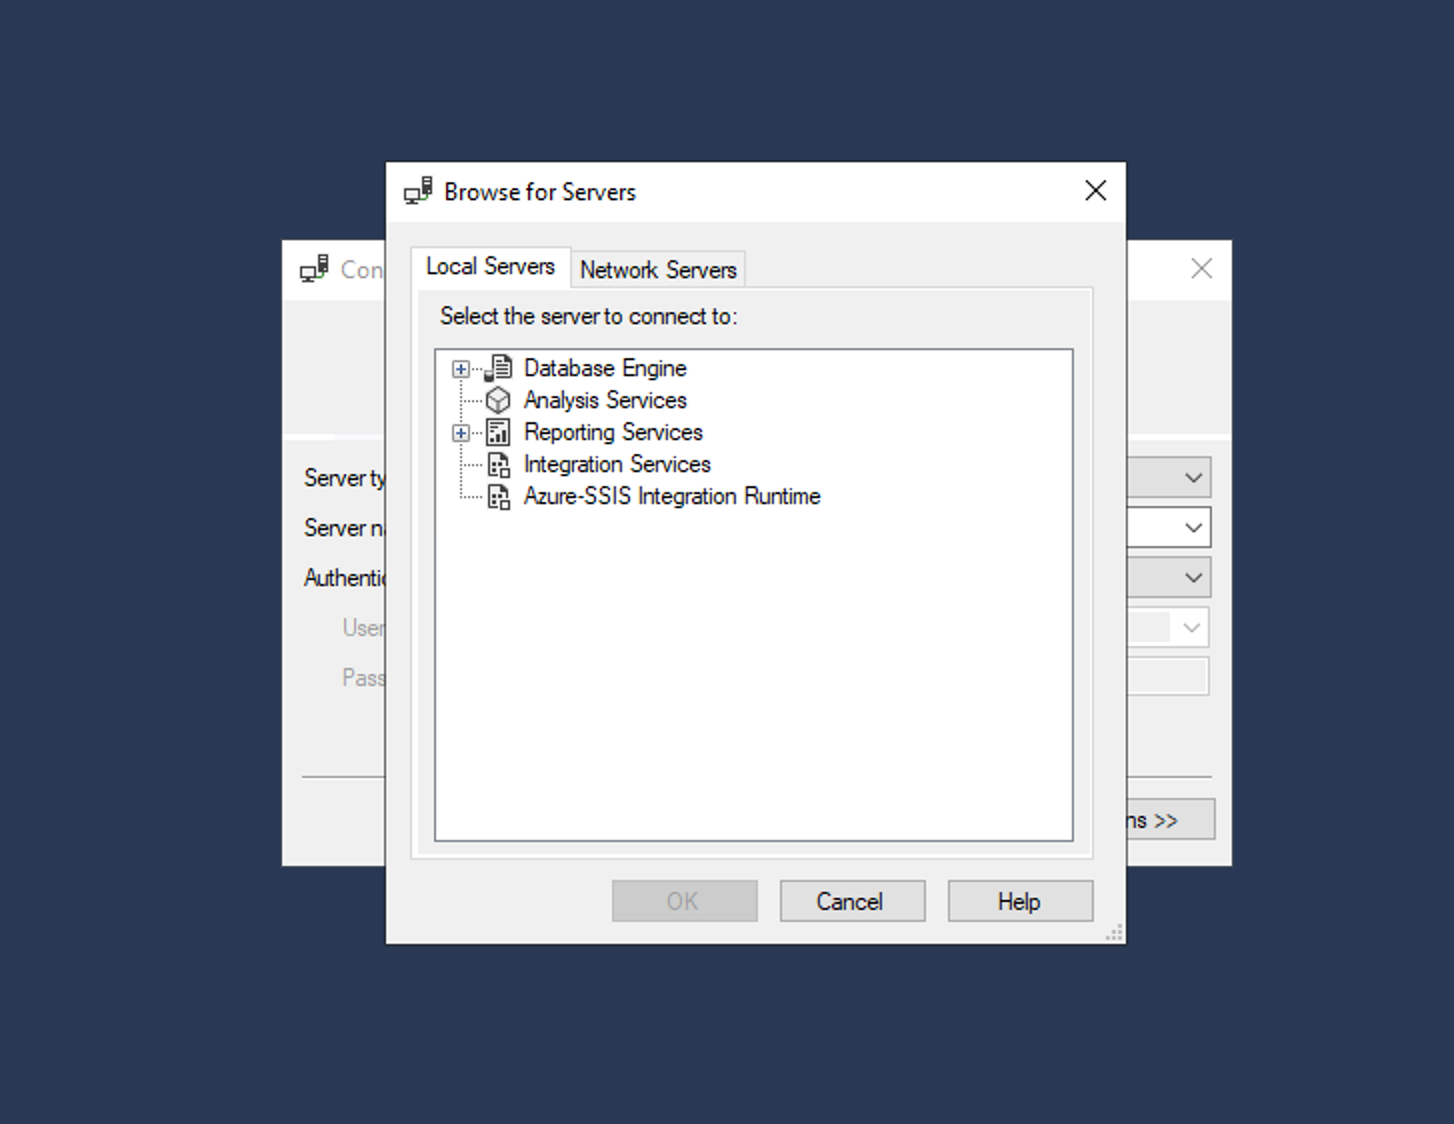
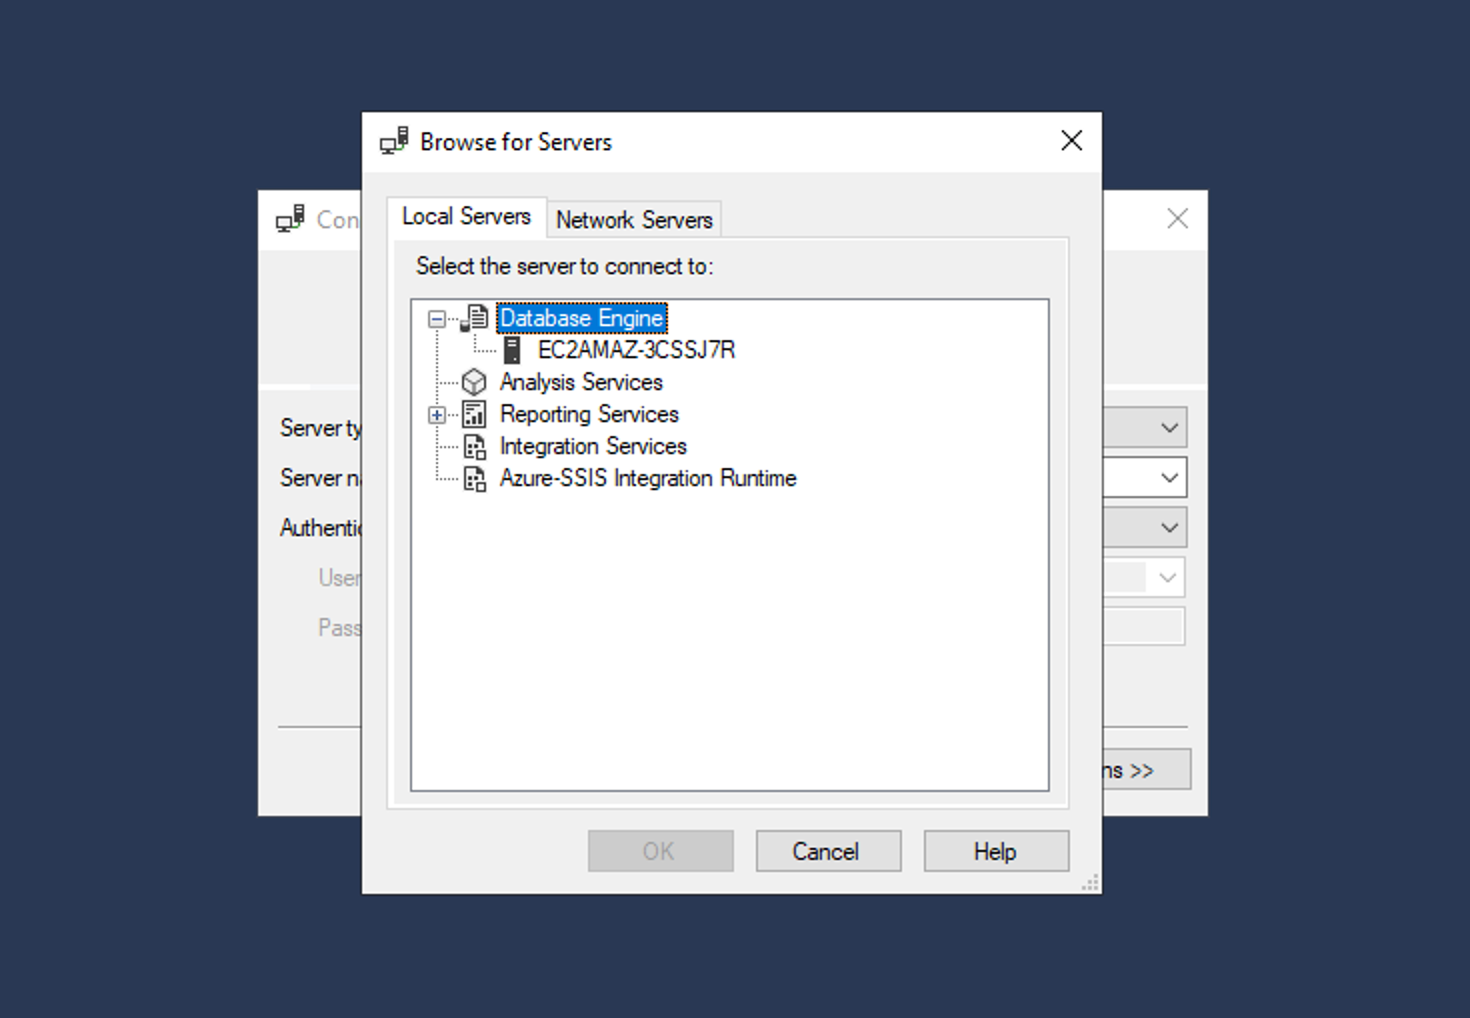
To find the server name, click on the down carrot, and click on Browse.
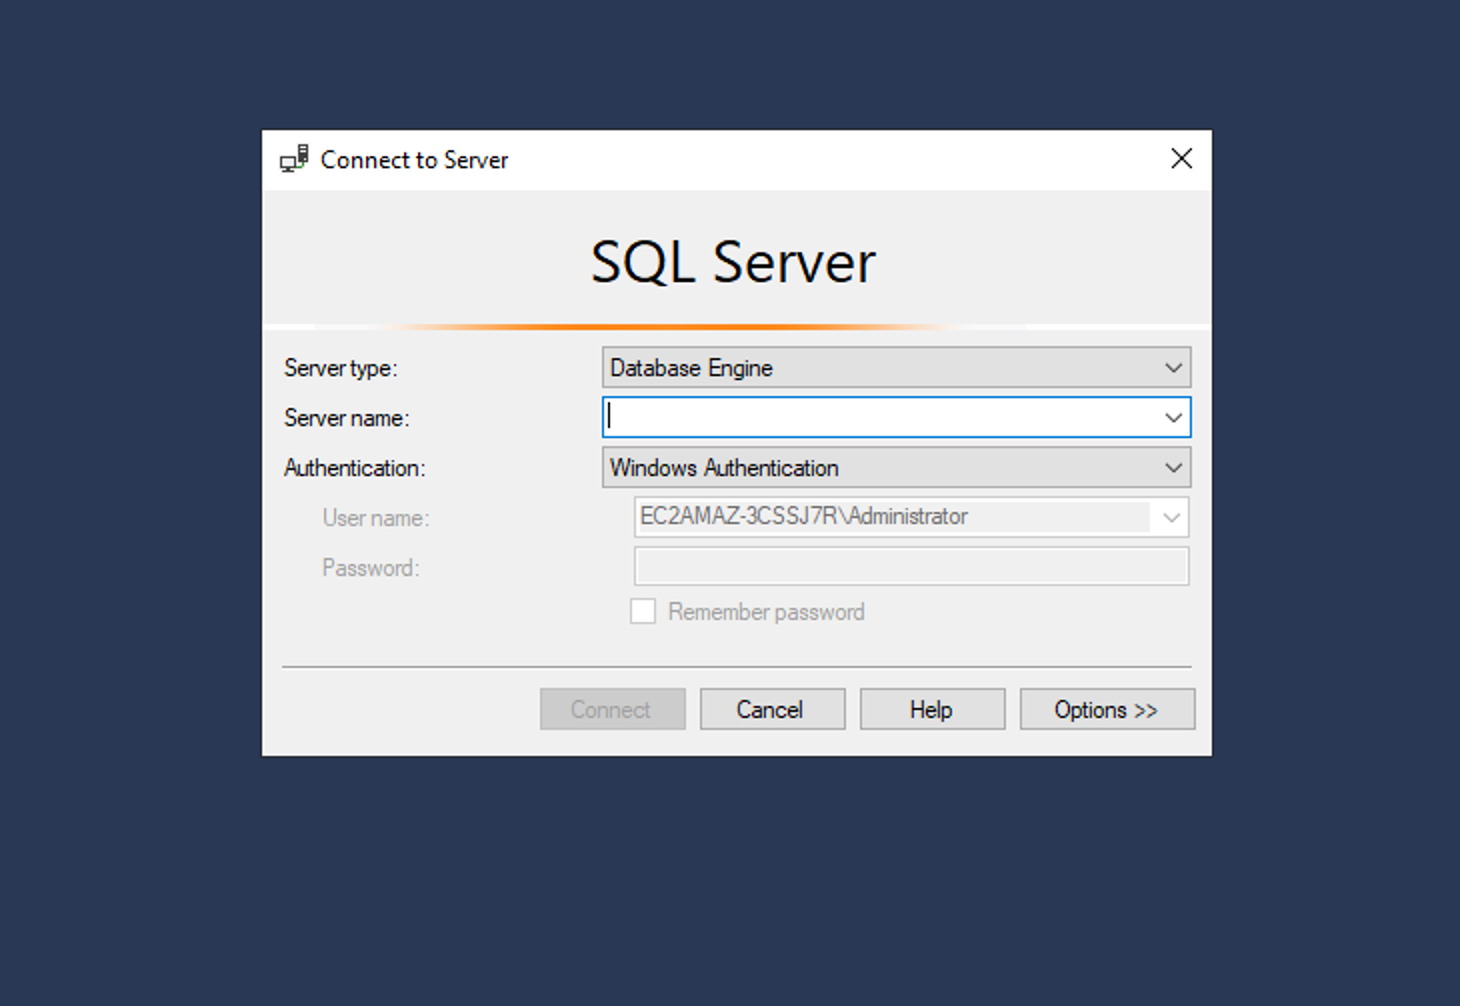
Click on the (+) next to Database Engine, click on the server, and click OK.
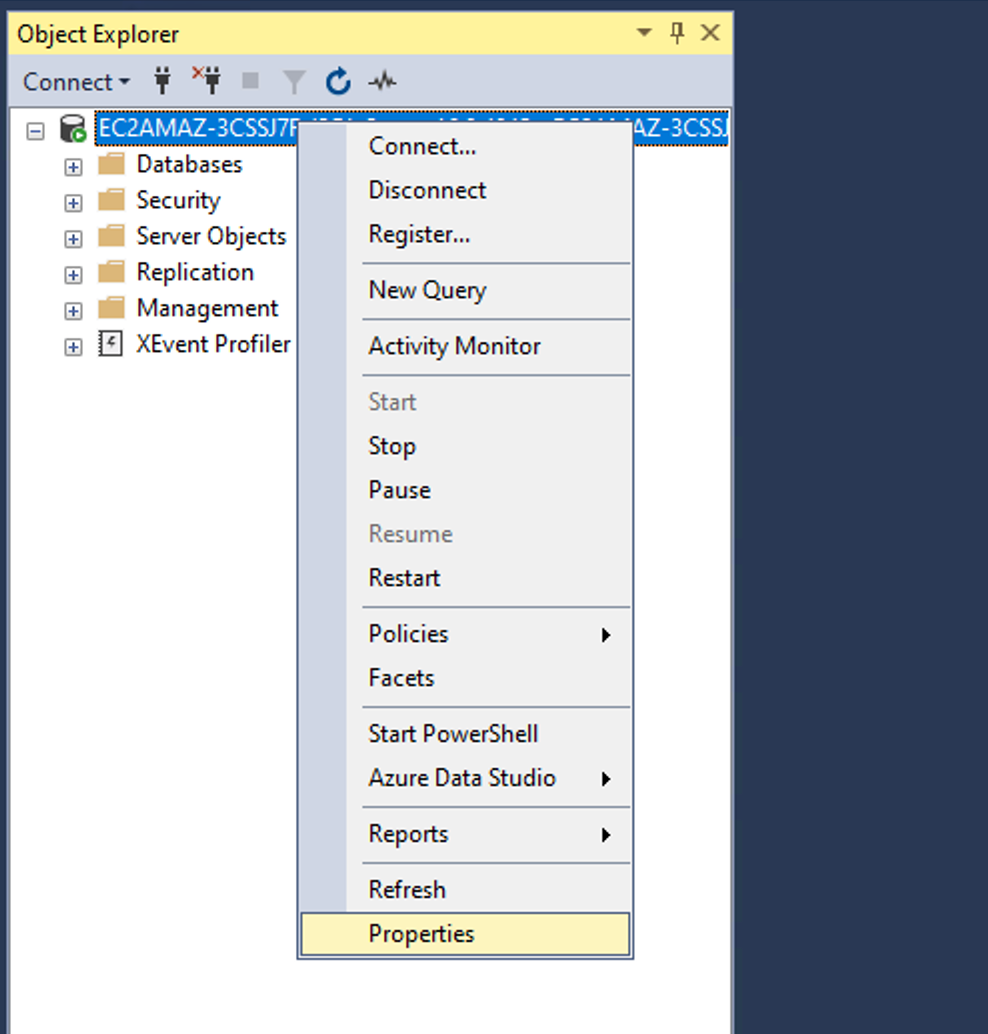
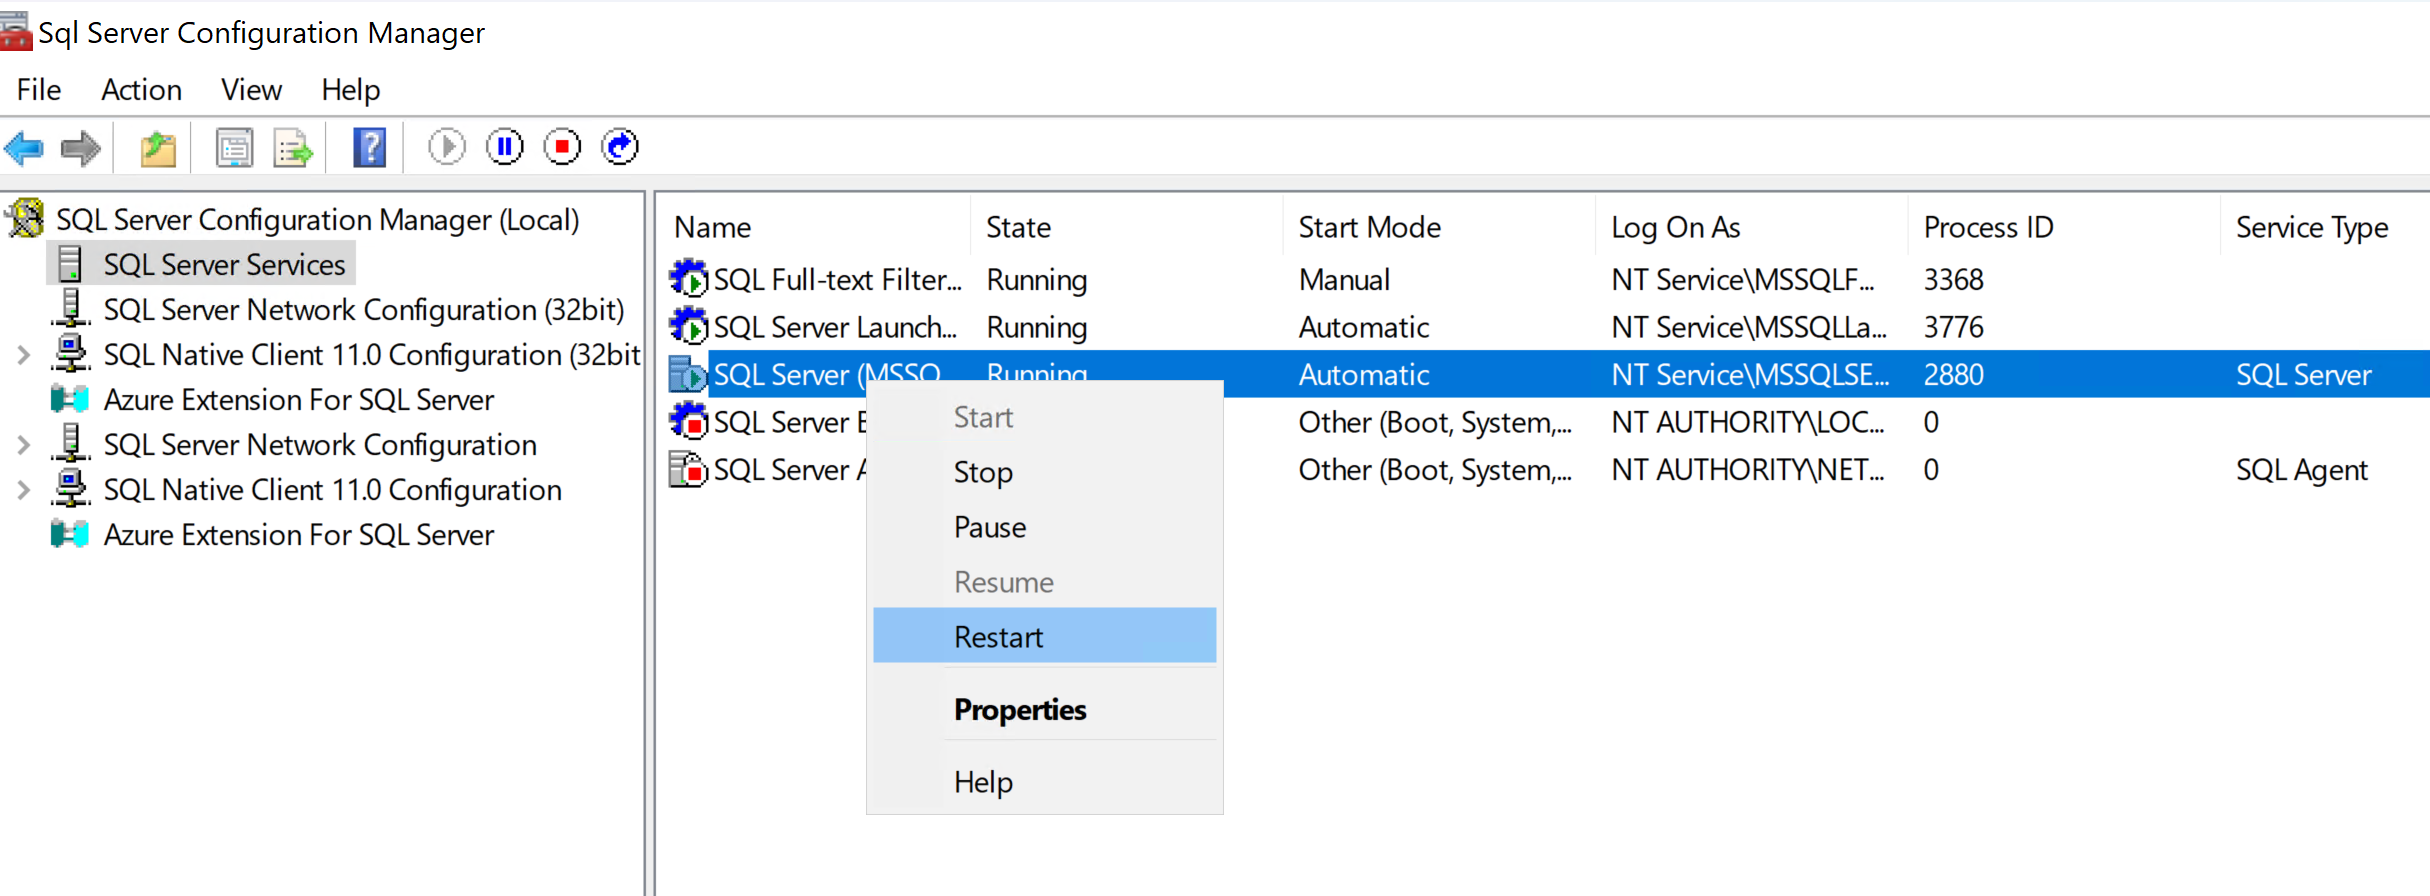
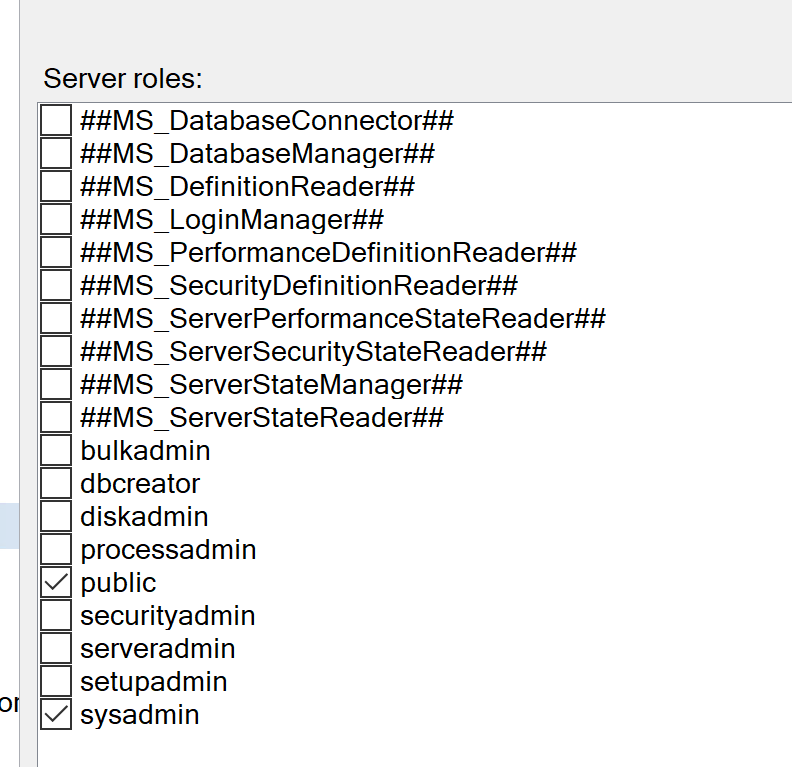
We will create a new login, but before we do that we need to allow SQL Server to accept the login. By default, SQL Server only accepts connections with Windows Authentication. Right-click on the SQL Server instance and click on Properties.
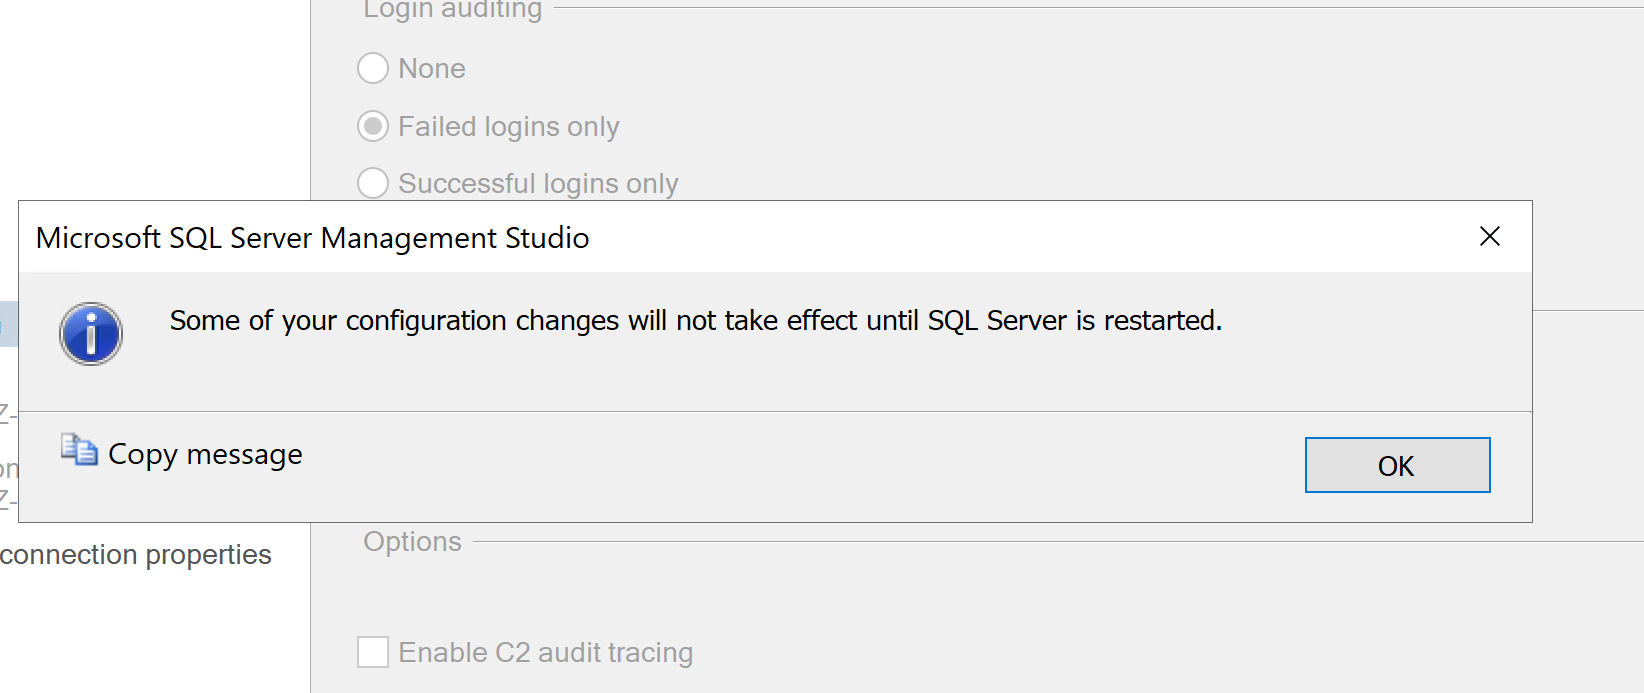
Click on Security and change Server Authentication to "SQL Server and Windows Authentication mode.

The SQL Server instance will need to be restarted for the change to take effect.
To create a new login, open a new query window. You can use the script below to create the user and learn more here.
-- Creates the login AbolrousHazem with password '340$Uuxwp7Mcxo7Khy'.
CREATE LOGIN AbolrousHazem
    WITH PASSWORD = '340$Uuxwp7Mcxo7Khy';
GO

-- Creates a database user for the login created above.
CREATE USER AbolrousHazem FOR LOGIN AbolrousHazem;
GO 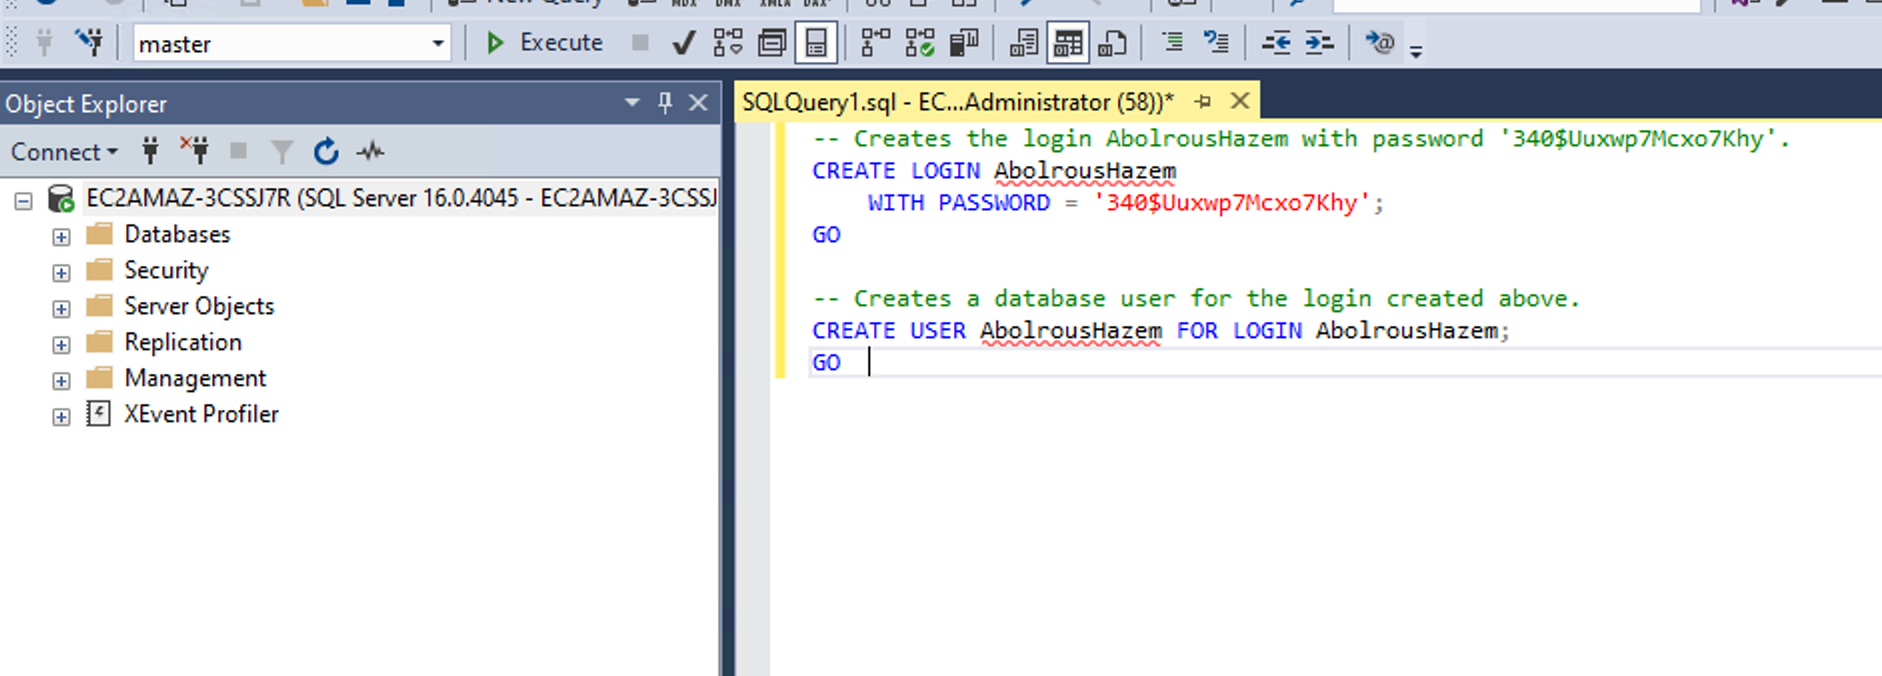
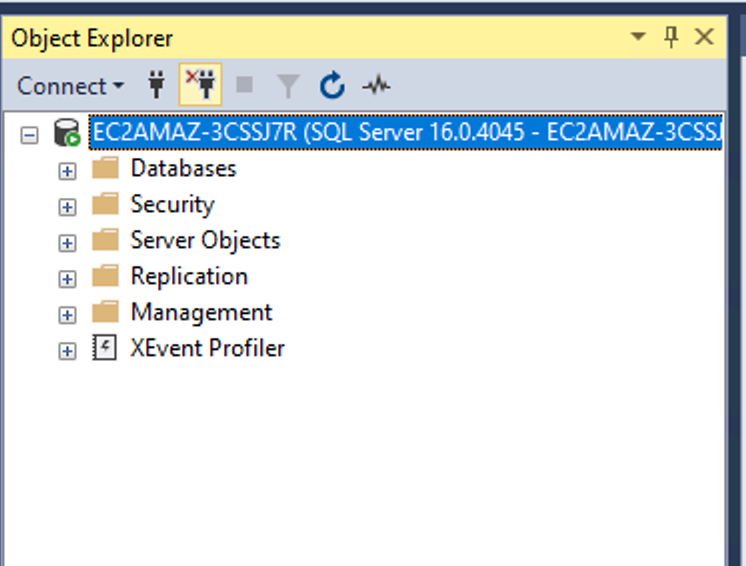
Disconnect from the SQL Server instance.
Now test the login.
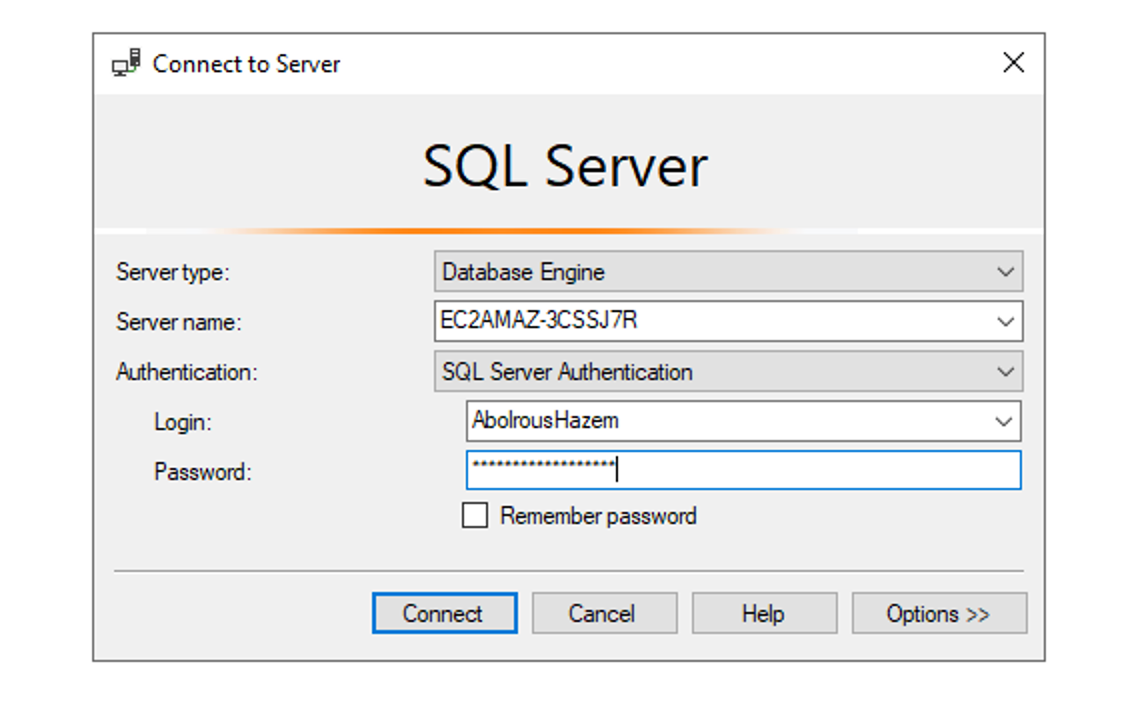
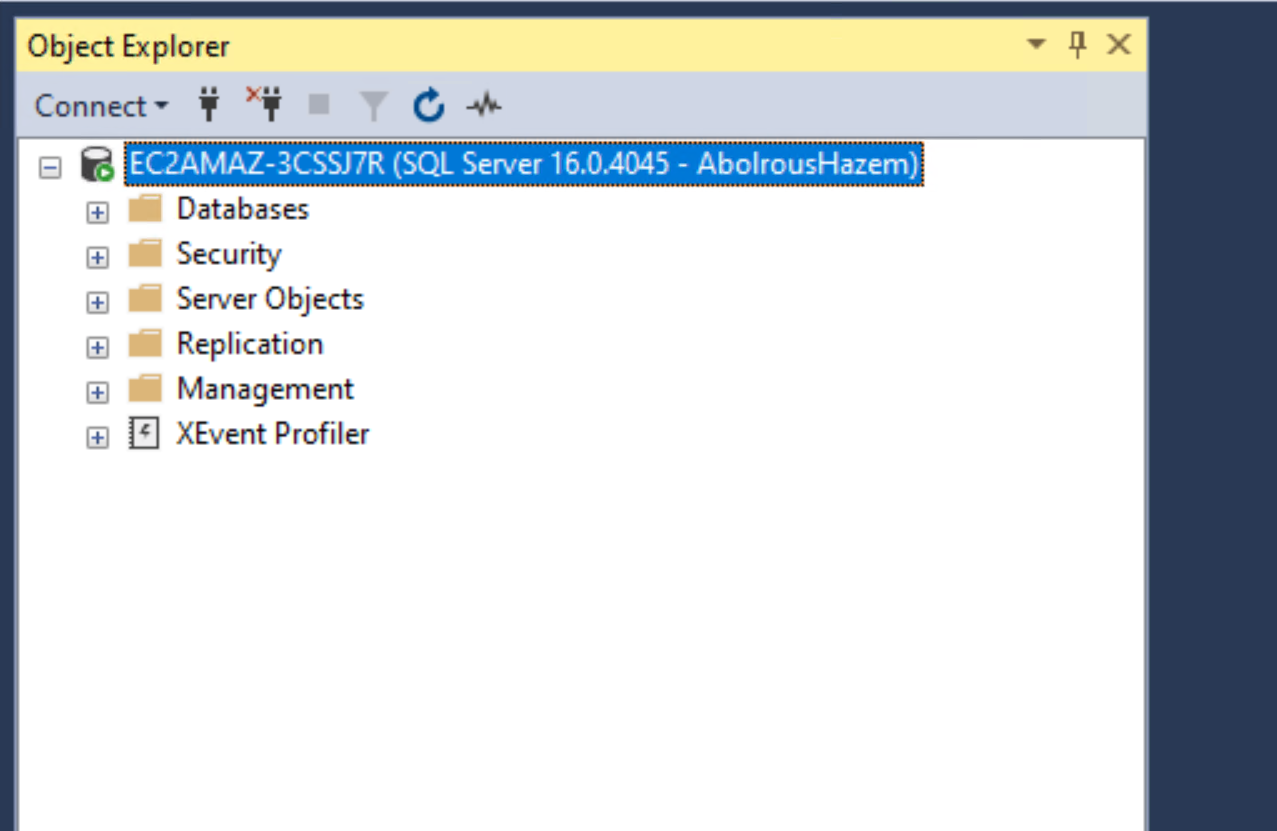
Horray we connected while on the Server!
Connect to SQL Server Remotely
Open up your favorite SQL Server tool.

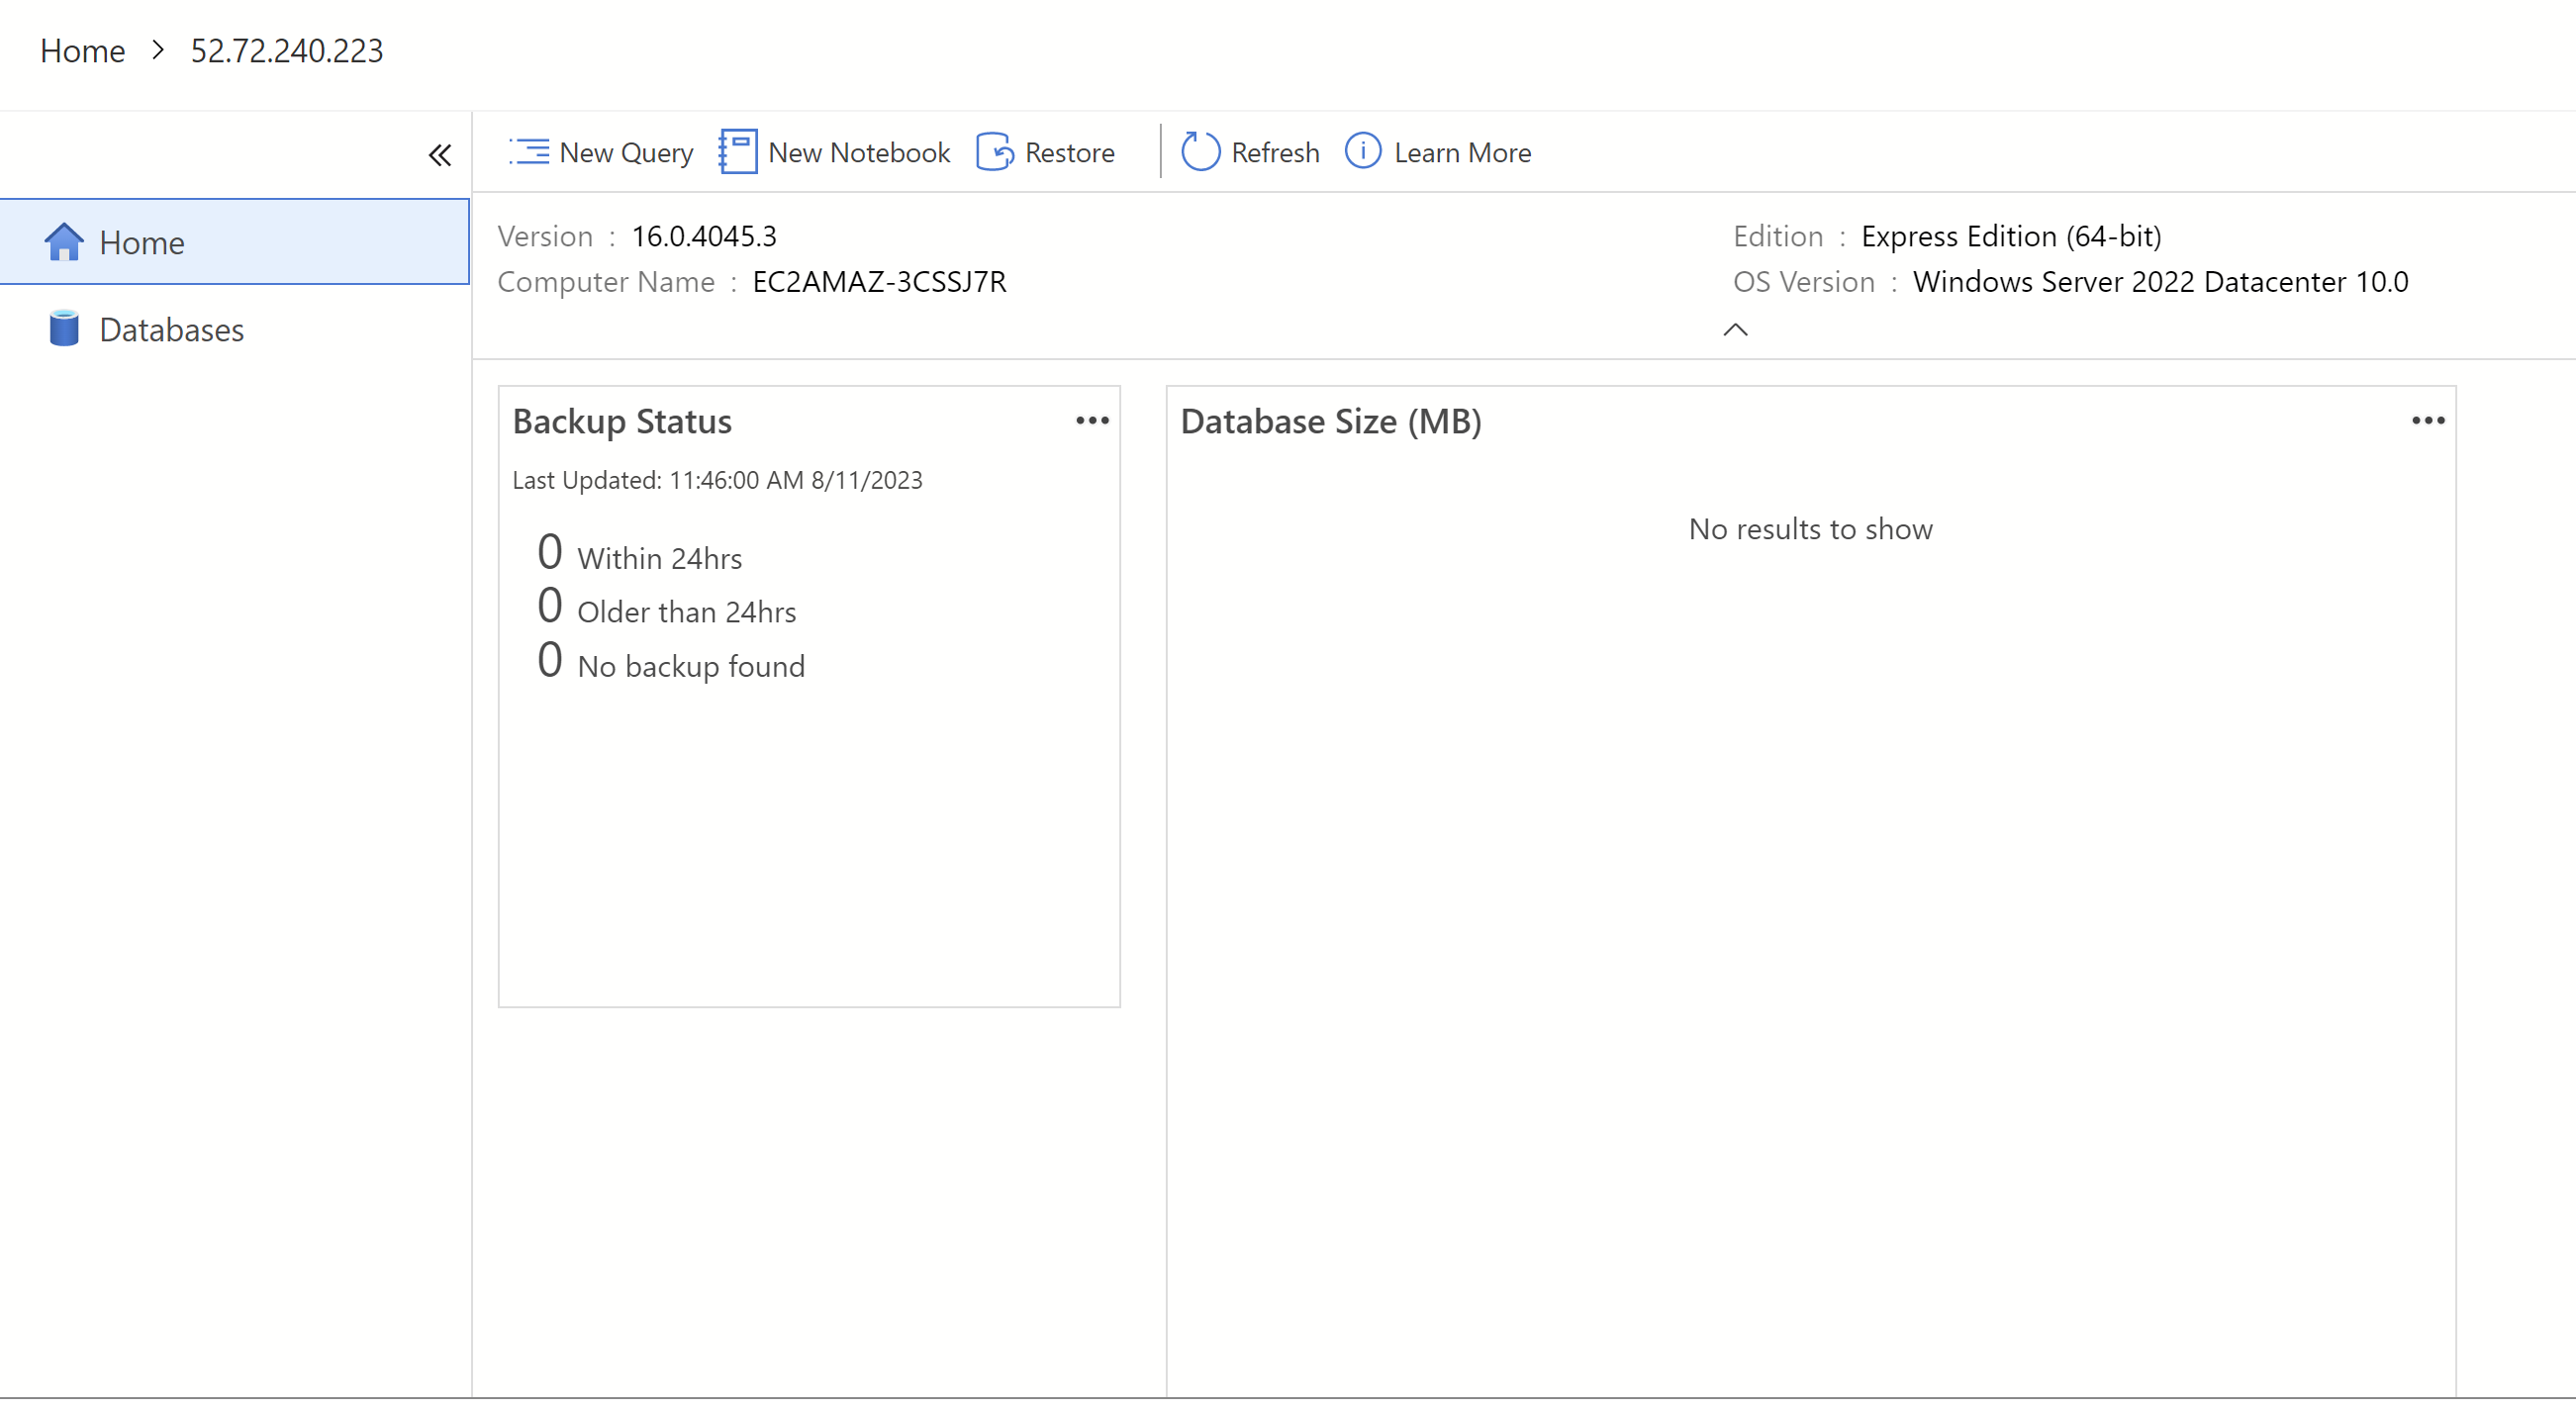
You did it. Now you can use SQL Server remotely.
Happy Coding!